
Introduction
Installing upper cabinets is an easy and cost-effective way to increase storage space in your kitchen or bathroom. This project requires basic tools and a few simple steps, but it can make a big difference in the look and feel of your home. In this article, we’ll provide a step-by-step guide on how to hang upper cabinets, from measuring and marking the wall to testing the doors.

Measure and Mark the Wall for Cabinet Placement
The first step in installing upper cabinets is deciding where to place them. Measure the area you want to fill and mark it on the wall with a pencil. Make sure the measurements are exact so your cabinets will fit properly. Once you’ve marked the area, use a level to make sure it’s even before moving on to the next step.
Drill Pilot Holes in Studs for Mounting
Once you’ve determined the placement of your upper cabinets, you’ll need to locate the studs in the wall. Use a stud finder to identify the studs, then mark them with a pencil. You’ll need to drill pilot holes in the studs to mount the brackets that will hold your cabinets. Be sure to use the correct size drill bit for your screws and drill slowly to avoid damaging the wall.
Attach Cabinet Brackets to the Wall
After you’ve drilled the pilot holes, it’s time to attach the cabinet brackets to the wall. Start by prepping the brackets with drywall anchors, if necessary. Secure the brackets to the wall using the screws and drill. Make sure the brackets are firmly attached and level before moving on to the next step.

Hang the Upper Cabinet Box on the Brackets
Now that the brackets are securely attached to the wall, you can hang the upper cabinet box. Position the cabinet over the brackets and lift it into place. Make sure the cabinet is level and secure it to the brackets with screws.

Secure the Cabinet to the Wall with Screws
Once the cabinet is in place, you’ll need to secure it to the wall with screws. Choose screws that are long enough to go through the cabinet box and into the studs. Drill the screws in at an angle to ensure a secure fit. If you’re using a pre-drilled cabinet, be sure to line up the holes before drilling.
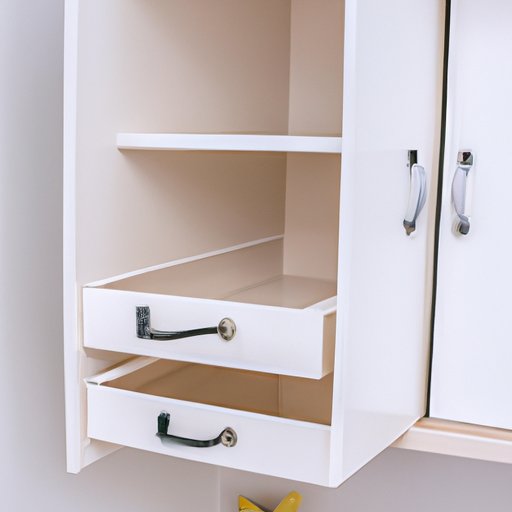
Level the Cabinet and Install Handles
Before you can finish installing the upper cabinets, you’ll need to make sure they’re level. Place a level on top of the cabinet and adjust the brackets until it’s perfectly level. Once the cabinet is level, you can install the handles and drawers. Make sure the handles are securely attached and test the drawers to make sure they open and close smoothly.

Test the Doors and Finalize Installation
The last step in installing upper cabinets is testing the doors. Open and close each door to make sure it swings freely and make any necessary adjustments. Once the doors are working properly, you’re done! Your upper cabinets are now ready to use.
Conclusion
Installing upper cabinets is a simple and affordable way to add extra storage space to your kitchen or bathroom. With a few basic tools and some careful measuring, you can hang upper cabinets in no time. Remember to measure and mark the wall, drill pilot holes in the studs, attach the brackets, hang the cabinet box, secure the cabinet to the wall, level the cabinet, install handles, and test the doors. With these steps, you’ll be enjoying your new upper cabinets in no time.