
Introduction
A leaking faucet in the bathroom can be an annoying problem. It not only wastes water but can also lead to costly water damage if left unchecked. Fortunately, it is possible to fix a leaking faucet with a few simple tools and a bit of know-how. In this article, we will explore how to fix a leaking faucet in the bathroom, from shutting off the water supply to troubleshooting common problems. We will also provide DIY solutions for those who prefer to take a more hands-on approach.
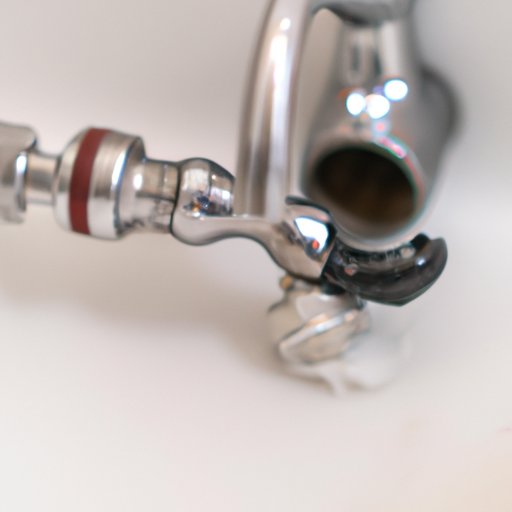
Step-by-Step Guide to Fixing a Leaky Faucet Bathroom
The first step in fixing a leaking faucet is to turn off the water supply. This can typically be done by turning the shut-off valve located underneath the sink. Once the water supply has been shut off, remove the faucet handle by unscrewing the retaining nut or screws that are holding it in place. Depending on the type of faucet you have, you may need to use a flathead screwdriver or an Allen wrench to do so.
After removing the faucet handle, inspect the parts for signs of wear and tear. If necessary, replace the washers and seals as these are usually the cause of most leaks. When reassembling the parts, it is important to make sure everything is tightened properly. Finally, turn the water supply back on and check for leaks. If all is well, your faucet should now be fixed.
Troubleshooting Tips for Repairing a Leaky Faucet Bathroom
If your faucet continues to leak after following the steps above, there are a few troubleshooting tips you can try. First, check for any loose connections. Make sure all of the nuts, bolts, and screws are tight. You may also want to inspect the parts for signs of corrosion, as this can often be the cause of a leaky faucet. Finally, check for worn out parts. If any of the parts are worn out, they will need to be replaced.

DIY Solutions for Fixing a Leaky Faucet Bathroom
If you prefer to take a more hands-on approach, there are several DIY solutions you can try. Replacing the seals and tightening the connections are two of the most effective solutions. You may also want to lubricate any moving parts to ensure they move freely. If necessary, you can purchase replacement parts from your local hardware store.

How to Quickly and Easily Fix a Leaky Faucet Bathroom
To quickly and easily fix a leaking faucet in the bathroom, start by identifying the problem. Is it a worn out washer or broken seal? Once you have identified the problem, gather the necessary tools and materials. This may include a wrench, pliers, and a replacement part. After gathering the tools and materials, follow the steps outlined in the section above. Finally, if necessary, troubleshoot any remaining issues.

Common Causes of Leaky Faucets in the Bathroom and How to Fix Them
There are several common causes of a leaking faucet in the bathroom. Worn out washers and broken seals are two of the most common causes. Corroded connections and loose screws can also be culprits. To fix these issues, simply replace the worn out parts and tighten the connections. If necessary, you can purchase the necessary parts from your local hardware store.
Conclusion
A leaking faucet in the bathroom can be an annoying problem. Fortunately, it is possible to fix a leaking faucet with a few simple tools and a bit of know-how. This article provided a step-by-step guide on how to fix a leaking faucet, as well as troubleshooting tips and DIY solutions. By following the steps outlined in this article, you should be able to quickly and easily fix a leaking faucet in the bathroom.