
Introduction
Dryers are an essential appliance in any home. Over time, the heating element can become damaged or worn out, causing the dryer to not heat properly or to overheat. Replacing the heating element is important to ensure your dryer runs efficiently and safely. In this article, we will discuss how to identify and fix a faulty heating element and provide a comprehensive guide to replacing the heating element.
Overview of the Problem
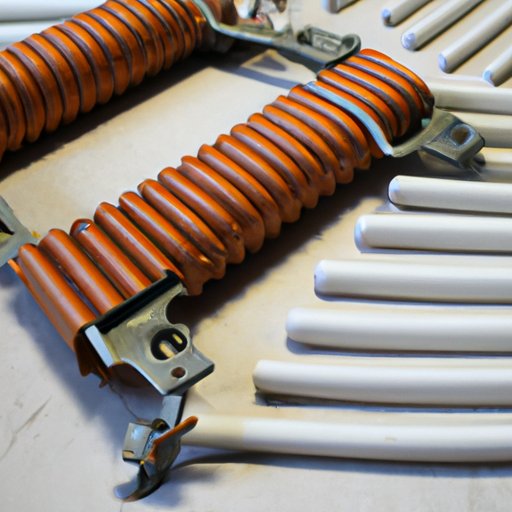
The heating element is responsible for providing the heat necessary to dry clothes in a dryer. It is usually located near the back of the dryer and consists of a metal coil that heats up when electricity passes through it. When the heating element stops working, the dryer will no longer produce enough heat to dry clothes or may even overheat. If this happens, the heating element needs to be replaced.
Benefits of Replacing the Heating Element
Replacing the heating element has many benefits. First, it will help to ensure that your dryer runs more efficiently and uses less energy. This can save you money on your electricity bill. Additionally, it will help to prevent your dryer from overheating, which can be dangerous and cause damage to other components of the dryer. Finally, replacing the heating element will extend the life of your dryer and help it to last longer.
Step-by-Step Guide to Replacing a Dryer Heating Element
Replacing the heating element in a dryer is relatively simple and can be done by most people with basic tools and knowledge. Here is a step-by-step guide to replacing your dryer’s heating element:
Gather Necessary Tools
Before getting started, you will need to gather the necessary tools for the job. You will need a screwdriver, pliers, and possibly a nut driver depending on the type of screws used to secure the heating element. Additionally, you will need a replacement heating element, which you can purchase at most hardware stores or online.
Access the Heating Element
Once you have the necessary tools, you can begin the process of replacing the heating element. Start by unplugging the dryer from the wall and removing the back panel of the dryer. This will allow you to access the heating element.
Unscrew the Old Heating Element
Next, you will need to unscrew the old heating element. Use the appropriate tool (screwdriver, pliers, or nut driver) to remove the screws securing the heating element to the dryer. Once the screws are removed, you can carefully remove the old heating element.
Install the New Heating Element
Once the old heating element has been removed, you can install the new heating element. Make sure to line up the terminals on the new element with the terminals on the dryer. Secure the new heating element with the screws that were removed from the old element.
Test the New Heating Element
After the new heating element has been installed, you will want to test it to make sure it is working properly. Plug in the dryer and turn it on to the highest heat setting. Allow the dryer to run for a few minutes and then check to see if the heating element is producing heat. If it is, then the installation was successful.

DIY Tips for Troubleshooting and Replacing a Dryer Heating Element
If you are having trouble with your dryer’s heating element, there are a few things you can do to troubleshoot and possibly fix the problem before replacing the heating element. Here are some DIY tips for troubleshooting and replacing a dryer heating element:
Check All Connections
Before replacing the heating element, it is important to check all of the connections to make sure they are secure. If any of the connections are loose or disconnected, they could be preventing the heating element from working properly.
Inspect the Wiring
It is also important to inspect the wiring to make sure there are no breaks or frays. If any of the wires are broken or frayed, they should be replaced before replacing the heating element.
Clean the Lint Trap
Clogged lint traps can cause the dryer to overheat, so it is important to clean the lint trap regularly. This can help to prevent the heating element from becoming damaged or worn out prematurely.

How to Identify and Replace a Faulty Dryer Heating Element
There are several signs that can indicate a faulty heating element. If your dryer is taking too long to dry clothes, producing low heat, or not producing any heat at all, then the heating element may need to be replaced. Here is a step-by-step guide to replacing a faulty dryer heating element:
Signs of a Faulty Heating Element
As mentioned above, a few signs that can indicate a faulty heating element include taking too long to dry clothes, producing low heat, or not producing any heat at all. Additionally, the dryer may be making a humming noise or emitting a burning smell.
Replacement Process
To replace the faulty heating element, first unplug the dryer and remove the back panel to access the heating element. Then, use the appropriate tools to unscrew the old heating element and remove it. Next, install the new heating element and secure it with the screws that were removed from the old element. Finally, plug in the dryer and test the new heating element to make sure it is working properly.

Common Problems with Dryer Heating Elements and How to Fix Them
Although replacing the heating element is relatively simple, there are still some common problems that can occur. Here are a few common problems with dryer heating elements and how to fix them:
Low Heat Output
If your dryer is producing low heat, the most likely cause is a faulty heating element. To fix this problem, you will need to replace the heating element.
No Heat Output
If your dryer is not producing any heat at all, then the heating element may be completely burned out. To fix this problem, you will need to replace the heating element.
Overheating
If your dryer is overheating, then the heating element may be stuck in the “on” position. To fix this problem, you will need to replace the heating element. Additionally, make sure to clean the lint trap regularly to help prevent the dryer from overheating.
A Comprehensive Guide to Replacing a Dryer Heating Element
Replacing the heating element in a dryer is relatively simple and can be done by most people with basic tools and knowledge. Here is a comprehensive guide to replacing a dryer heating element:
Safety Precautions
Before beginning the process of replacing the heating element, it is important to take safety precautions. Make sure to unplug the dryer from the wall and wear protective gloves while handling the heating element.
Parts Needed
You will need to gather the necessary tools and parts for the job. You will need a screwdriver, pliers, and possibly a nut driver depending on the type of screws used to secure the heating element. Additionally, you will need a replacement heating element, which you can purchase at most hardware stores or online.
Step-by-Step Guide
Start by unplugging the dryer from the wall and removing the back panel of the dryer. This will allow you to access the heating element. Next, use the appropriate tool to remove the screws securing the heating element to the dryer. Once the screws are removed, you can carefully remove the old heating element. Then, install the new heating element and secure it with the screws that were removed from the old element. Finally, plug in the dryer and test the new heating element to make sure it is working properly.
Conclusion
Replacing the heating element in a dryer is relatively simple and can be done by most people with basic tools and knowledge. Following the steps outlined in this article, you can easily and safely replace a dryer heating element. Additionally, you can use the tips provided for troubleshooting and identifying a faulty heating element. With proper maintenance and care, your dryer will continue to run efficiently and safely for years to come.