
Introduction
A cracked ceiling can be an eyesore in any home. It’s also a safety concern; if left untreated, the cracks can become worse over time and even lead to structural damage. Fortunately, fixing a cracked ceiling is relatively easy with the right supplies and a bit of elbow grease. In this article, we’ll explain the steps for inspecting for structural damage, preparing the area around the crack, repairing minor or hairline cracks, patching larger cracks with joint compound, smoothing the repaired area with sandpaper, and painting the ceiling to complete the repair.
Inspecting for Structural Damage
The first step in fixing a cracked ceiling is to inspect the area for any structural damage. If the cracks are caused by a problem with the foundation or walls, then additional repairs may be needed to prevent further cracking or other issues. To inspect the area, start by looking for any signs of water damage, such as stains or discoloration. Next, check for bulges or sagging in the ceiling. This could indicate that there is a problem with the foundation or walls.
Once you have identified any potential structural issues, it’s important to assess the severity of the damage. Minor cracks and hairline fractures can usually be fixed without having to address any underlying problems. However, larger cracks may require additional repairs before they can be patched up. If you are unsure about the severity of the damage, it’s best to consult a professional for advice.

Preparing the Area Around the Crack
Before you begin to repair the cracked ceiling, it’s important to prepare the area around the crack. Start by removing any loose pieces of plaster or drywall. If the crack is large enough, you may need to use a chisel or utility knife to carefully remove the material. Once all of the loose pieces have been removed, clean the area with a vacuum and damp cloth to remove any dust or debris.
Repairing Minor or Hairline Cracks
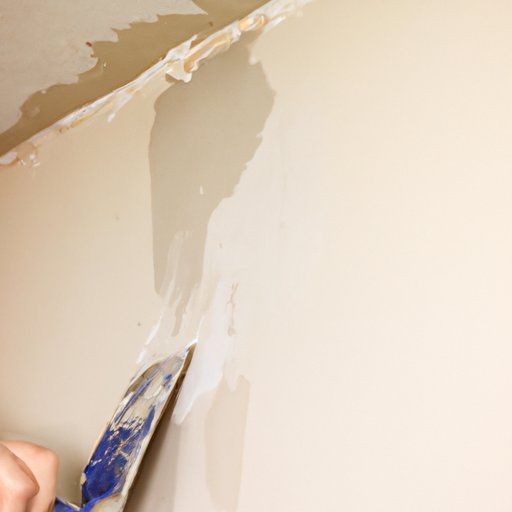
For minor cracks or hairline fractures, you can usually just apply joint compound and smooth out the surface. Start by applying a thin layer of joint compound around the crack with a putty knife. Make sure to spread the compound evenly and fill in any gaps. Once the area is covered, use a wet sponge to smooth out the surface and blend the joint compound into the surrounding area.
Allow the joint compound to dry completely before continuing. You may need to apply a second or third coat of joint compound to ensure that the area is completely sealed. Once the joint compound is dry, use a sanding block to lightly sand the area until it is smooth.

Patching Larger Cracks with Joint Compound
For larger cracks, you may need to patch the area with joint compound. Start by using a utility knife to cut a V-shaped groove along the length of the crack. This will help the joint compound adhere better to the surface. Next, apply a thick layer of joint compound over the crack and use a putty knife to smooth it out. Allow the joint compound to dry completely before continuing.
Once the joint compound is dry, you can finish the area with a light sanding. Use a sanding block to lightly sand the area until it is smooth. Wipe away any excess dust with a damp cloth before moving on to the next step.
Smoothing the Repaired Area with Sandpaper
Once the area is completely dry, you can use sandpaper to smooth out the repaired area. Start by using a piece of fine-grit sandpaper to lightly sand the area. Be sure to sand in a circular motion to ensure that the area is evenly smoothed. Once the area is smooth, use a damp cloth to wipe away any excess dust.

Painting the Ceiling to Complete the Repair
The final step in fixing a cracked ceiling is to paint the area. Before you begin, make sure to choose the right type of paint for the job. For best results, use a paint designed specifically for ceilings. Once you have chosen the right type of paint, apply it to the area using a roller or brush. Allow the paint to dry completely before putting any furniture or other items back in the room.
Conclusion
Fixing a cracked ceiling doesn’t have to be a difficult task. With the right supplies and a bit of patience, you can repair minor or hairline cracks with joint compound and patch larger cracks with joint compound and sandpaper. Finally, add the finishing touch by painting the area to complete the repair. By following these steps, you can restore your cracked ceiling to its former glory.