
Introduction
Drywall is a great material for ceilings due to its affordability, insulation, and fire resistance. However, it can become damaged over time, leaving you with a less than desirable looking ceiling. Fortunately, repairing and fixing up your ceiling drywall doesn’t have to be a difficult or expensive task. This article will provide a step-by-step guide on how to fix ceiling drywall, from gathering tools and materials to painting and finishing the ceiling.

Prepare the Area for Repairs
Before you begin making any repairs, it’s important to take the necessary steps to prepare the area. This includes gathering tools and materials, shutting off power to the room, removing light fixtures, and covering flooring.
The first step is to gather the tools and materials you’ll need for the job. This includes a drywall saw, drywall screws, drywall tape, joint compound, spackle, sandpaper, primer, and paint. Make sure you have all the necessary supplies before you start.
Next, shut off the power to the room so that you don’t risk an electrical shock or injury. Also, remove any light fixtures from the ceiling as they may interfere with the repair process. Finally, cover the flooring with a drop cloth or other protective material to prevent any messes.

Cut Out and Replace Damaged Drywall
Once the area has been prepared, it’s time to identify and cut out the damaged drywall. Start by locating the damaged areas and then use a drywall saw to cut out the sections. Make sure to cut slightly larger than what needs to be replaced so that there is enough space for the new drywall.
Once the damaged drywall has been removed, measure and cut a new piece of drywall to fit in its place. Secure the new drywall to the ceiling joists with drywall screws, making sure to leave a gap between the screws and the edge of the drywall to allow for expansion and contraction.
Patch Small Holes and Cracks
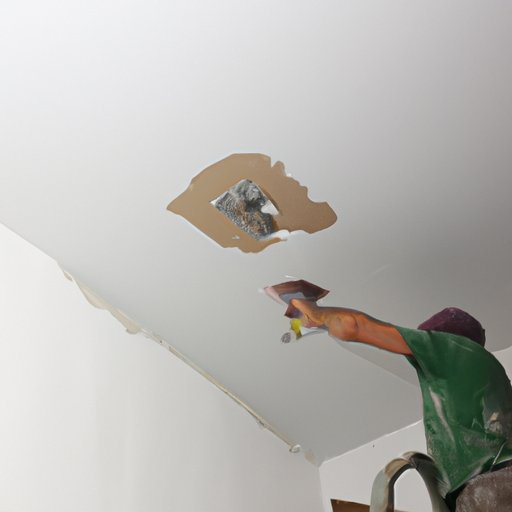
For smaller holes and cracks, you can patch them with spackle. Start by thoroughly cleaning the area around the hole or crack and then apply the spackle with a putty knife. Allow the spackle to dry and then sand it down until it is smooth.
Install New Drywall
If you need to install new drywall, measure and cut the pieces to fit the ceiling. Secure the drywall to the joists with drywall screws, making sure to leave a gap between the screws and the edge of the drywall to allow for expansion and contraction. Once the drywall is installed, apply joint compound to the seams and corners and then sand it down until it is smooth.

Paint and Finish the Ceiling
Once the drywall is installed and patched, it’s time to paint and finish the ceiling. Start by priming the ceiling to ensure even coverage and better adhesion of the paint. Then, apply two coats of paint, allowing each coat to dry before adding the next. Finally, add any desired finishing touches such as trim or crown molding to complete the look.
Conclusion
Fixing ceiling drywall doesn’t have to be a difficult or expensive task. By following the steps outlined in this article, you can easily repair and update your ceiling drywall. This includes preparing the area for repairs, cutting out and replacing damaged drywall, patching small holes and cracks, installing new drywall, applying joint compound and sanding smooth, and finally painting and finishing the ceiling.