
Introduction
If you’re having trouble with your car’s air conditioning (AC), then you’re certainly not alone. The AC system in cars can be complicated and often leads to problems when it isn’t working correctly. Fortunately, there are a few steps you can take to try and remedy the issue yourself before taking it to a mechanic. In this article, we’ll explore some of the common causes for AC issues in cars and how to go about fixing them.
Check Refrigerant Levels
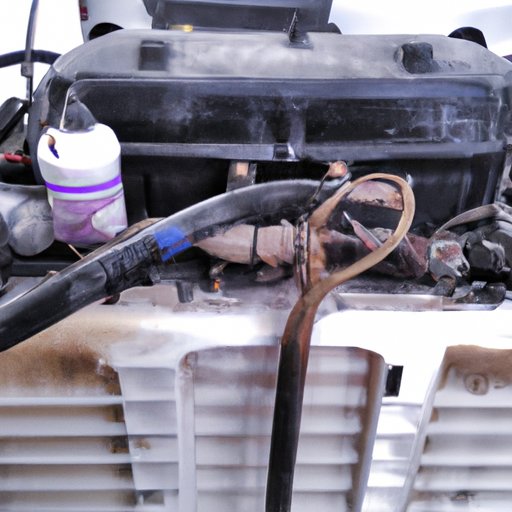
The first step you should take when trying to fix AC in your car is to check the refrigerant levels. Refrigerant is a chemical that helps cool the air inside the car by absorbing heat from the outside air. The refrigerant is usually stored in an AC system, and if the levels are low, it can cause the AC to fail. To check the levels, you’ll need a refrigerant gauge, which you can purchase at any auto parts store.
Once you have the gauge, connect it to the low-pressure port on the AC system and turn on the engine. Then, read the gauge to see what the pressure is. If the pressure is lower than it should be, then you’ll need to add more refrigerant. Be sure to follow the instructions on the package carefully, as improper use of refrigerant can be dangerous.
If the pressure is too high, then you may have a leak somewhere in the system. This could be caused by a damaged hose or cracked connection, so you’ll want to inspect these carefully to try and find the source of the leak. Once you’ve located the leak, you can repair it with a sealant or replace the part if necessary.
Inspect the Electric System
The next step in fixing AC in your car is to inspect the electric system. This system consists of several components, such as the compressor, condenser, evaporator, and other parts that help regulate the flow of air. To inspect the system, you’ll need a voltmeter and a multimeter, both of which can be purchased at any auto parts store.
Start by disconnecting the negative terminal on the battery, then turn on the ignition switch. Use the voltmeter to check the voltage at each component. If the voltage is too low, then you may need to replace the component. You can also use the multimeter to check for continuity between the parts. If there is no continuity, then the component needs to be replaced.
Finally, inspect the wiring for any breaks or frays. If you find any, then you’ll need to repair or replace the wiring in order to get the AC working again. It’s also important to check the fuses and relays in the system, as these can cause problems if they are faulty.
Clean the Condenser Coils
The condenser coils are responsible for cooling the air that enters the car. If these coils become dirty or clogged, then it can lead to poor air circulation and an inefficient AC system. To clean the coils, you’ll need a vacuum cleaner and a soft brush. Start by vacuuming the area around the coils to remove any dust or debris. Then, use the brush to gently scrub away any dirt or grime that has built up on the coils.
Once you’ve finished cleaning the coils, it’s important to inspect them for any damage. If you find any cracks or holes, then you’ll need to replace the coils in order to get the AC working properly again. If the coils are still in good condition, then you can reinstall them and move on to the next step.
Replace the Expansion Valve
The expansion valve is responsible for controlling the flow of refrigerant in the AC system. If the valve becomes damaged or clogged, then it can lead to poor performance and even complete failure of the AC system. To replace the valve, you’ll need a new one and some basic tools. Start by disconnecting the negative terminal on the battery, then remove the old valve from the AC system.
Next, install the new valve, making sure to follow the manufacturer’s instructions. Once the valve is in place, reconnect the negative terminal on the battery and turn on the ignition switch. Finally, check the system for any leaks or other problems. If everything is working correctly, then you can move on to the next step.
Check for Leaks
It’s important to check for any leaks in the AC system, as these can cause the system to fail. To check for leaks, you’ll need a pressure gauge, a flashlight, and some soap and water. Start by turning on the ignition switch and checking the pressure with the gauge. If the pressure is too low, then you may have a leak somewhere in the system.
To locate the leak, spray the soap and water solution around the AC system and look for bubbles. If you find any, then you’ll need to repair or replace the part that is causing the leak. Once the leak has been repaired, you can check the pressure again to make sure it is back to normal.
Replace the Blower Motor
The blower motor is responsible for moving the air through the AC system. If the motor is damaged, then it can lead to poor air circulation and a decrease in cooling power. To replace the motor, you’ll need a new one and some basic tools. Start by disconnecting the negative terminal on the battery, then remove the old motor.
Next, install the new motor and reconnect the negative terminal on the battery. Turn on the ignition switch and check the system for any leaks or other problems. If everything is working correctly, then you can move on to the next step.
Conclusion
Fixing the AC in your car can be a daunting task, but it doesn’t have to be. By following the steps outlined in this article, you can diagnose and repair many common issues that may be causing your AC to fail. From checking the refrigerant levels and inspecting the electric system, to cleaning the condenser coils and replacing the blower motor, you can take the necessary steps to get your car’s AC working again.