
Introduction
A leaky kitchen faucet single handle can be an annoying and costly problem. Not only is it a hassle to constantly have to mop up the mess that comes with a leaky faucet, but it can also lead to a higher water bill if left unaddressed. Fortunately, there are several steps you can take to diagnose and repair a leaky kitchen faucet single handle.
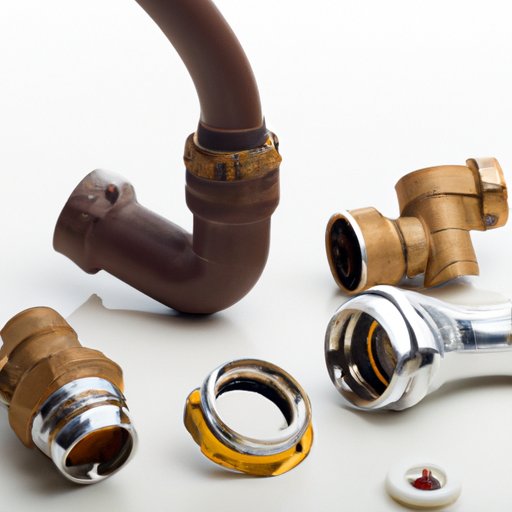
An O-ring or cartridge is typically responsible for most leaks in a kitchen faucet single handle. An O-ring is a rubber seal that helps keep the water from leaking out of the faucet. A cartridge is a cylindrical piece of plastic or metal that helps regulate the flow of water through the faucet. If either of these components is worn or damaged, it can cause water to leak out of the faucet.
The purpose of this article is to provide a step-by-step process on how to fix a leaky kitchen faucet single handle. By following the instructions outlined in this article, you should be able to diagnose and repair your own leaky kitchen faucet.
Replace the O-Ring or Cartridge
The first step in fixing a leaky kitchen faucet single handle is to replace the O-ring or cartridge. To do this, you will need to remove the existing O-ring or cartridge and install a new one. This is usually done by unscrewing the handle, removing the old O-ring or cartridge, and installing a new one.
When purchasing a new O-ring or cartridge, make sure to purchase the correct size for your faucet. Most home improvement stores carry a variety of sizes, so you should be able to find one that fits your particular faucet.
Tighten the Handle Nut
Once the O-ring or cartridge has been replaced, the next step is to tighten the handle nut. The handle nut is located beneath the handle and is used to secure the handle in place. To tighten the handle nut, simply turn it clockwise until it is snug. Be careful not to over-tighten the handle nut as this can damage the faucet.
Check for Leaks Around the Base
After the handle nut has been tightened, the next step is to check for leaks around the base of the faucet. To do this, turn on the faucet and inspect the area around the base for any signs of water leakage. If you notice any water leaking from the base, you may need to replace the O-ring or cartridge again.
Clean the Aerator
The aerator is a small screen located at the end of the faucet. This screen helps regulate the flow of water and can become clogged over time. To clean the aerator, simply unscrew it from the faucet and rinse it off with warm, soapy water. Once the aerator is clean, reattach it to the faucet and test for leaks.
Adjust the Water Pressure
If the aerator is clean and there are still leaks present, the next step is to adjust the water pressure. To do this, locate the water pressure regulator valve and adjust it accordingly. Generally speaking, a lower water pressure will reduce the likelihood of leaks.
Replace the Washers
If the water pressure has been adjusted and there are still leaks present, the next step is to replace the washers. Washers are small rubber discs that help create a watertight seal between the faucet and the sink. To replace the washers, simply unscrew the faucet and remove the old washers. Then, install new washers and reassemble the faucet.
Install a New Faucet
If all of the above steps have been taken and the leak persists, then it may be time to install a new faucet. Installing a new faucet can be a bit more complicated than the other steps outlined in this article, so it is recommended that you seek the help of a professional plumber if you are not confident in your abilities.
Conclusion
Fixing a leaky kitchen faucet single handle can be a frustrating and time-consuming task. However, with the right tools and knowledge, it is possible to diagnose and repair the issue yourself. The steps outlined in this article provide a step-by-step process on how to fix a leaky kitchen faucet single handle. These steps include replacing the O-ring or cartridge, tightening the handle nut, checking for leaks around the base, cleaning the aerator, adjusting the water pressure, and replacing the washers. If all else fails, you may need to install a new faucet.