
Introduction
A dripping faucet bathroom is one of the most common plumbing problems. Not only can it be annoying, but it can also increase your water bill significantly. Fortunately, fixing a dripping faucet is not as difficult as it may seem. With the right tools and knowledge, you can easily repair or even replace the faucet yourself.
The purpose of this article is to provide a step-by-step guide on how to fix a dripping faucet bathroom. We’ll discuss how to identify the cause of the leak, repair it with replacement parts, use plumber’s tape to create a watertight seal, clean the faucet and reassemble it properly, and perform regular maintenance to avoid future leaks.

Troubleshoot the Problem: Identify the Cause of the Leak
Before you start repairing the faucet, you need to identify the cause of the leak. This will help you determine which parts need to be replaced and what type of repair is required.
First, inspect the faucet for visible signs of damage such as cracks or rust. If there are any, it’s best to replace the entire faucet rather than trying to repair it. Next, check the washer and O-ring for wear and tear. If they appear worn or damaged, they should be replaced.
Finally, determine if the issue is due to improper installation. If the faucet wasn’t installed properly, it could be the cause of the leak. In this case, you may need to hire a professional plumber to fix the problem.
Repair the Faucet with Replacement Parts
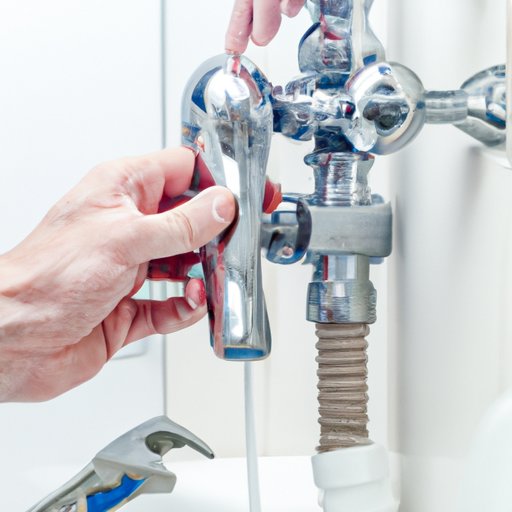
Once you’ve identified the cause of the leak, it’s time to repair the faucet. To do this, you’ll need to gather the necessary tools and replacement parts. Depending on the type of faucet, you may need a wrench, screwdriver, pliers, and other tools. You’ll also need to purchase the appropriate replacement parts.
Next, remove the faucet handle and access the internal components. Carefully examine each part and replace any that are worn or damaged. Be sure to reinstall the parts in the right order and with the right amount of pressure.
Invest in a Quality Faucet for Long-Term Results
If you’re looking for a more permanent solution to your dripping faucet, you may want to consider investing in a quality faucet. When selecting a faucet, consider both the cost and quality. Research different brands and select the best faucet for your needs.
Use Plumber’s Tape to Create a Watertight Seal
Once you’ve selected and installed a new faucet, you’ll need to make sure it has a watertight seal. To do this, wrap the threads of the faucet with plumber’s tape. This will help create a secure and airtight seal that will prevent leaks.
After wrapping the threads, test the seal by turning the water on and off several times. If you don’t notice any leaks, then the seal is successful.

Clean the Faucet and Reassemble It Properly
Before you turn the water back on, it’s important to clean the faucet and surrounding area. Use a damp cloth to wipe away any dirt, debris, or grime that may have built up over time. Then, put the pieces back together in the right order.
Make sure the handle is tight and secure, and that all the connections are sealed properly. Once everything is in place, turn the water back on and test the faucet to ensure it’s functioning properly.

Perform Regular Maintenance to Avoid Future Leaks
To ensure your faucet continues to function properly, it’s important to perform regular maintenance. Check the faucet regularly for signs of wear and tear, and make sure the water pressure is not too high. Be mindful when using the faucet, as excessive force can cause damage.
It’s also a good idea to periodically check the seal around the faucet for leaks. If you notice any, take the necessary steps to fix them as soon as possible.
Conclusion
Fixing a dripping faucet bathroom doesn’t have to be a daunting task. Armed with the right tools and knowledge, you can easily troubleshoot, repair, and maintain your faucet. By following the steps outlined in this article, you can make sure your faucet is functioning properly and avoid costly repairs in the future.