
Introduction
Factory resetting an Acer laptop can be a very useful tool if you’re looking to start fresh with your laptop or if you’re having issues with your device. Resetting your laptop brings it back to its original settings and helps eliminate any problems you may have been experiencing. But for many users, the process of factory resetting their laptop can be intimidating. This article will provide a step-by-step guide on how to factory reset an Acer laptop, as well as troubleshooting tips and other ways to reset the laptop to its original state.
Step-by-Step Guide to Factory Resetting an Acer Laptop
Before you begin the factory reset process, it’s important to back up all of your data and disconnect any external peripherals. This will ensure that none of your files are lost during the reset process and that no external devices interfere with the reset.
Backing Up Data and Disconnecting Peripherals
To back up your data, you’ll need to either use an external storage device or create a cloud storage account. Once your data is backed up, you can safely disconnect any external devices such as printers or scanners. After these steps are completed, you can move on to the actual reset process.
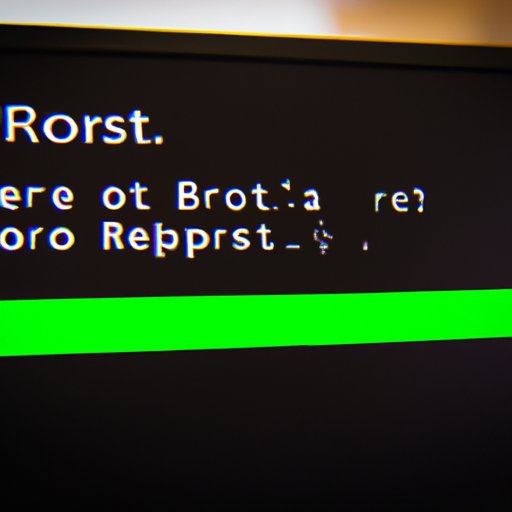
Accessing the System Restore Point
The easiest way to reset your Acer laptop is through the System Restore Point. To access this, you’ll need to go to the Start Menu and type in “System Restore.” From there, you can choose a time frame for the restore point and click “Next” to begin the process. Your laptop will then restart and be restored to the selected restore point.
Using the Acer eRecovery Management Tool
Another option for factory resetting your Acer laptop is by using the Acer eRecovery Management Tool. This tool allows you to create a recovery disc that can be used to reset your laptop. To access this tool, you’ll need to press the Alt and F10 keys when your laptop boots up. You’ll then be prompted to enter your password and you can follow the on-screen instructions to create the recovery disc.
Resetting with a Password Reset Disk
If you’ve previously created a password reset disk for your Acer laptop, you can use this to reset your laptop. To do this, you’ll need to insert the disk into your laptop and then restart the device. When the laptop reboots, you’ll be prompted to enter the password reset disk and then you can follow the on-screen instructions to reset your laptop.
Utilizing the BIOS Menu
You can also reset your Acer laptop by accessing the BIOS menu. To do this, you’ll need to press the F2 key when the laptop boots up. This will take you to the BIOS menu where you can find the option to reset your laptop. Keep in mind that this method will erase all of your data so make sure to back up your files before attempting this.
Troubleshooting Tips for Reinstalling Windows on an Acer Laptop
Sometimes, you may run into issues when attempting to reinstall Windows on your Acer laptop. Here are some troubleshooting tips that may help you get past these issues.
Identifying the Problem
The first step is to identify the problem you’re having. Is it a hardware issue? A software issue? If you can identify the cause of the problem, it will be easier to fix it.
Reinstalling Windows
If you’re having trouble installing Windows, you can try reinstalling it. To do this, you’ll need to boot up your laptop from a USB drive or DVD containing the installer. Once the installation is complete, you’ll be able to access the Windows desktop again.
Troubleshooting Common Issues
There are certain common issues that can occur when reinstalling Windows. These include problems with the Boot Manager, missing drivers, and errors with the registry. To troubleshoot these issues, you can consult online resources or contact an expert for assistance.

Exploring Other Ways to Reset an Acer Laptop to Factory Settings
In addition to the methods discussed above, there are other ways to reset an Acer laptop to factory settings. Here are some of the other options available.
Using Recovery Partition
Many Acer laptops come with a recovery partition that can be used to reset the laptop. To access this partition, you’ll need to press the Alt and F10 keys when the laptop boots up. This will open the recovery partition and you can follow the on-screen instructions to reset your laptop.
Resetting with Command Prompt
You can also use the Command Prompt to reset your Acer laptop. To do this, you’ll need to open the Command Prompt and type in the command “wmic path softwarelicensingservice get OA3xOriginalProductKey”. This will display the product key for your laptop which you can then use to reset the device.
Refreshing by Reinstalling Windows
Finally, you can refresh your Acer laptop by reinstalling Windows. To do this, you’ll need to boot up your laptop from a USB drive or DVD containing the Windows installer. Once the installation is complete, your laptop will be refreshed and ready to use.
Conclusion
Factory resetting an Acer laptop can seem intimidating at first, but it doesn’t have to be. With the right steps and a bit of patience, you can easily reset your laptop to its original settings. This article has provided step-by-step instructions on how to factory reset an Acer laptop, as well as troubleshooting tips and other ways to reset the laptop to its original state. Remember to always back up your data before beginning the reset process, and if you encounter any issues, consult online resources or contact an expert for assistance.