
Introduction
Drawing shoes can seem intimidating but it doesn’t have to be! With some practice and guidance, anyone can learn how to draw shoes with ease. This article provides a step-by-step guide to help you get started on your journey to becoming an artist. We will discuss basic techniques for drawing shoes with simple shapes, as well as more advanced methods for creating unique cartoon characters and mastering angles and perspectives.
Step-by-Step Guide: How to Draw Shoes with Simple Shapes
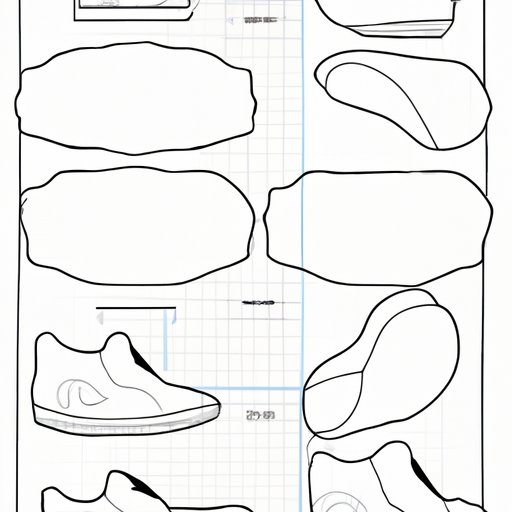
The first step to drawing shoes is gathering the necessary materials. You will need a pencil, eraser, paper, ruler, and colored pencils or markers (optional). Once you have all the items ready, it’s time to start drawing.
The best way to begin drawing shoes is by drawing the outline. Start by sketching two circles side by side (these will become the soles of the shoes). Then, draw a curved line connecting the two circles at the top (this will be the back of the shoe). Next, add two lines extending from the sides of the circles to form the sides of the shoe. Finally, draw two lines connecting the back of the shoe to the front of the shoe to form the toe box.
Once you have the basic shape of the shoe down, you can start adding details such as stitching, laces, and other decorative elements. If you are using colored pencils or markers, you can also add color to the shoe for a more realistic look.
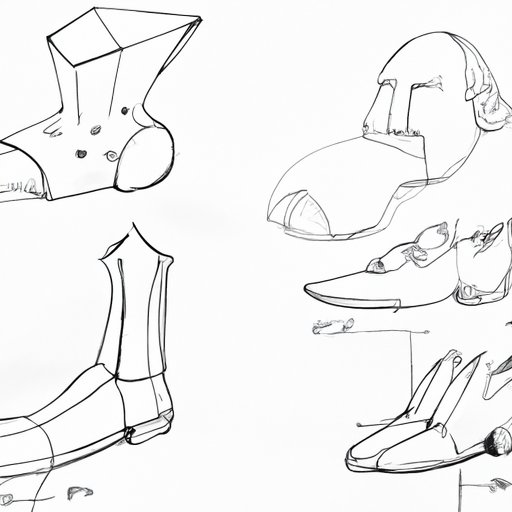
Drawing Shoes in Perspective: A Tutorial for Beginners
Drawing shoes in perspective can be tricky, but there are several techniques that can help you master this skill. The first step is to understand the concept of perspective. Perspective is the technique of creating the illusion of three-dimensional space on a two-dimensional surface. Drawing objects in perspective requires you to look at the object from different angles and draw what you see.
Once you understand the basics of perspective, it’s time to start drawing shoes. Start by sketching the outlines of the shoe from different angles. Make sure to draw the shoe from both the front and the side view. It may also be helpful to draw a grid to help you keep track of the proportions of the shoe.
After you have drawn the outlines of the shoe, you can start adding details such as stitching, laces, and other decorations. You can also add color and texture to make the shoe look more realistic.
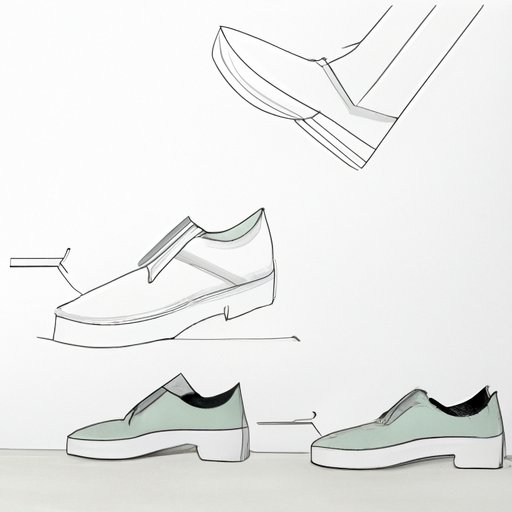
A Visual Guide to Drawing Cartoon Shoes
Drawing cartoon shoes is a great way to practice your skills and create unique characters. To get started, use simple shapes to draw the outline of the shoe. Start by drawing two circles side by side (these will become the soles of the shoes). Then, draw a curved line connecting the two circles at the top (this will be the back of the shoe). Next, add two lines extending from the sides of the circles to form the sides of the shoe. Finally, draw two lines connecting the back of the shoe to the front of the shoe to form the toe box.
Once you have the basic shape of the shoe down, you can start adding details such as stitching, laces, and other decorations. You can also add color to make the shoe look more interesting. When drawing cartoon shoes, try to keep the design simple and focus on creating a unique character style.
To finish your cartoon shoes, add some final touches such as shadows and highlights. These small details can really bring your drawings to life!
Learn to Draw Shoes with an Easy Sketching Method
Sketching shoes is another great way to practice your drawing skills. To get started, gather your materials and draw the outlines of the shoe. Start by sketching two circles side by side (these will become the soles of the shoes). Then, draw a curved line connecting the two circles at the top (this will be the back of the shoe). Next, add two lines extending from the sides of the circles to form the sides of the shoe. Finally, draw two lines connecting the back of the shoe to the front of the shoe to form the toe box.
Once you have the basic shape of the shoe down, you can start adding details such as stitching, laces, and other decorations. You can also add color and texture to make the shoe look more realistic. When sketching shoes, focus on capturing the overall shape and movement of the shoe rather than getting bogged down in small details.
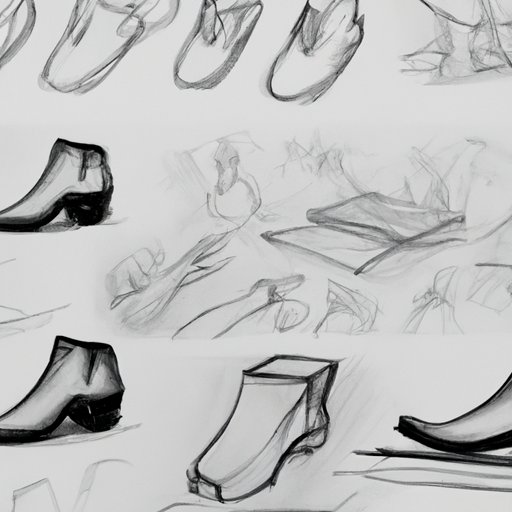
Master Drawing Shoes in Different Styles and Angles
Once you have mastered the basics of drawing shoes, you can start exploring different styles and angles. Try drawing shoes from different perspectives and angles to get a better understanding of how they look from different points of view. You can also experiment with different styles such as high heels, sneakers, sandals, and boots.
When drawing shoes from different angles, it’s important to pay attention to the proportions of the shoe. Make sure to draw the shoe from both the front and the side view. It may also be helpful to draw a grid to help you keep track of the proportions of the shoe.
Finally, when you are finished drawing, don’t forget to add the finishing touches such as shadows, highlights, and textures. These small details can really bring your drawings to life!
Conclusion
Drawing shoes can be a fun and rewarding experience. With practice and guidance, anyone can learn how to draw shoes with ease. This article provided a step-by-step guide to help you get started on your journey to becoming an artist. We discussed basic techniques for drawing shoes with simple shapes, as well as more advanced methods for creating unique cartoon characters and mastering angles and perspectives.
Remember to always practice and take your time when drawing shoes. Don’t be afraid to experiment with different styles and angles. And don’t forget to add the finishing touches such as shadows, highlights, and textures. With patience and dedication, you can become an expert at drawing shoes!
Summary of Tips
- Gather the necessary materials before starting.
- Begin by drawing the outlines of the shoe.
- Understand the basics of perspective.
- Use simple shapes to draw cartoon shoes.
- Focus on capturing the overall shape and movement of the shoe when sketching.
- Practice drawing shoes from different angles and perspectives.
- Experiment with different styles such as high heels, sneakers, sandals, and boots.
- Don’t forget to add shadows, highlights, and textures for a more realistic look.
Resources for Further Study
For more information on drawing shoes, check out the following resources: