
Introduction
Drawing realistic hair may seem like a daunting task for those who are just starting out in art. But with a little bit of practice, you can learn how to draw hair that looks so real, people will be asking if you used a photograph! This article will provide a step-by-step guide on how to draw hair that looks lifelike and natural.
Use a Reference Image
The first step in the process is to find a good reference image. Look for an image that has clear details and is not too busy. You can use a photograph of yourself or someone else, or you can search online for images of hairstyles that you want to replicate. Once you have found the perfect reference image, use it as a guide when drawing your own hair.
Outline the Shape
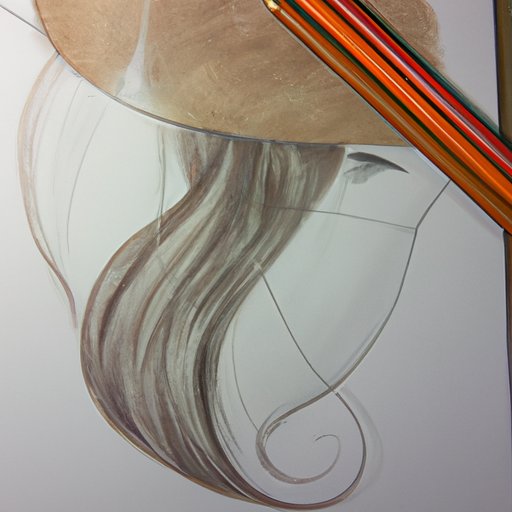
Using a pencil, start by sketching out the basic shape of the hair. Begin with the outline of the head and then draw the shape of the hair around it. Make sure to include all of the contours and curves of the hair in your sketch. This will provide a foundation for the rest of your drawing.
Add Volume
Once you have established the basic structure of the hair, it’s time to add some volume. To do this, you can use different shading techniques such as hatching, cross-hatching, and stippling. These techniques will help create the illusion of depth and dimension in your drawing.
Detail the Hair
Now that you have added some volume to the hair, it’s time to add some details. Start by drawing individual strands of hair and giving them texture using small lines. You can also add highlights to give the hair a more realistic look. Be sure to keep your pencil strokes light, as this will help make the hair look more natural.
Define the Part
The next step is to define the part of the hair. To do this, you can use a thicker line to create a visible separation between the two sides. Make sure that the line follows the natural curve of the hair and doesn’t look too straight or unnatural.
Add Color
If you want to add color to your drawing, you can use colored pencils or markers. You can choose to color the entire head of hair or just certain sections. Experiment with different colors and don’t be afraid to mix and match until you get the desired effect.
Final Touches
Once you are satisfied with the overall look of your drawing, it’s time to add the final touches. Use an eraser to clean up any stray lines or mistakes that you may have made. You can also use a white pencil or pen to add highlights and give the hair a more realistic appearance.
Conclusion
Drawing realistic hair can be intimidating at first, but with a few simple steps, you can create a lifelike sketch. Start by finding a good reference image, then sketch out the basic shape of the hair. Add volume and detail with shading and individual strands, and define the part with a thicker line. Finally, add color and clean up any mistakes with an eraser. With some practice, you’ll be able to draw hair that looks so realistic, people won’t believe it’s not a photograph!