
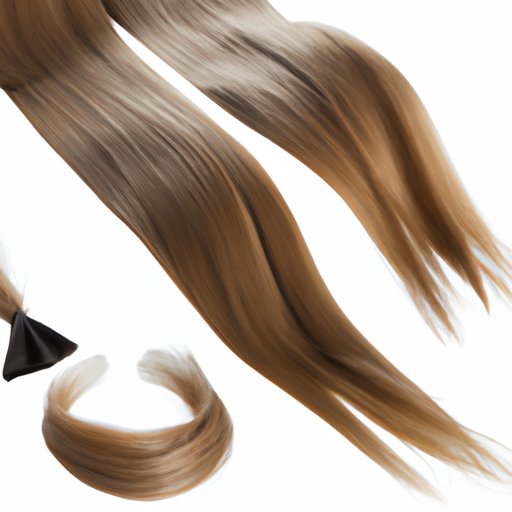
Introduction
Cutting layered long hair can be a daunting task for even the most experienced hairstylist. It requires patience, precision, and just the right tools and products. But with the right knowledge and techniques, anyone can master the art of layering long hair. In this article, we’ll explore how to cut layered long hair, from the basics of choosing the right tools and products to creating textured layers and finishing with a professional cut and style.
Start with the Basics: Choose the Right Tools and Products
Before you begin cutting your hair, it’s important to have the right tools and products on hand. The two most essential tools are a sharp pair of scissors and a comb. Investing in a good pair of scissors is key—these should be specifically designed for hair cutting and should feel comfortable in your hand. Other helpful tools include thinning shears, clips, and a cape or towel.
As far as products go, you’ll want to use a shampoo and conditioner that suits your hair type. You may also want to consider using a leave-in conditioner to protect your hair while you’re styling. Finally, if you plan on blow drying your hair after cutting, a heat protectant spray or serum is a must.

Section Hair for Easier Cutting
Once your tools and products are gathered, it’s time to start dividing your hair into sections. Start by parting your hair down the middle. Then, divide each side into four sections, clipping each one away from the rest of your hair. This will make it easier to access each layer of hair when you’re ready to start cutting.
Cut the Back Layers First
Now it’s time to start cutting. Begin by working on the bottom layer of hair at the back of your head. Use the comb to hold the section of hair taut and then cut straight across, following the guideline you created when you sectioned off your hair. Work your way up the back of your head, cutting each layer until you reach the crown.
Layer Up the Top
Once you’ve finished cutting the back layers, move on to the top of your head. Create a guide line by using the comb to hold the top section of hair taut and straighten it out. Cut along this line, creating a blunt edge. Then, move on to the next layer and repeat the process, creating a slight angle as you cut. Continue layering up until you reach the crown.

Add Textured Layers for Volume
If you want to add volume and texture to your hair, you can use thinning shears. These specialized scissors are designed to create texture by removing small pieces of hair. To use them, start at the bottom layer and work your way up, snipping small pieces of hair to create texture. Be careful not to overdo it—you don’t want your hair to end up looking too thin.

Finish with a Professional Cut and Style
Once you’ve finished cutting and layering your hair, it’s time to blend the layers together. Use the comb to check for any uneven spots and snip away any strays. Finally, finish with a professional cut and style. Depending on your desired look, you may want to add some waves or curls with a curling iron or flat iron. You can also add a bit of product to add texture and shine.
Conclusion
Cutting layered long hair doesn’t have to be difficult. With the right tools and products, anyone can achieve a professional look. Start by gathering the necessary tools and products, then section your hair and begin cutting. Layer up the top and add textured layers for volume, and finish with a professional cut and style.