
Introduction
Having a refrigerator water line installed can be a great convenience. Having cold water or ice cubes any time you want them is a luxury many of us take for granted. But do you know how to connect a refrigerator water line? This article will provide a step-by-step guide to help you safely and successfully install a refrigerator water line in your home.
A refrigerator water line is a plastic or copper tube that connects a refrigerator to a water supply. It is used to provide drinking water and ice for refrigerators with an icemaker or water dispenser.
Although connecting a refrigerator water line may seem like a daunting task, it’s actually quite straightforward. With the right supplies and a little bit of know-how, you can have your refrigerator connected in no time.
Step-by-Step Guide to Connecting a Refrigerator Water Line
Connecting a refrigerator water line is not as difficult as it may seem. Here is a step-by-step guide to help you get the job done quickly and safely.
Step 1: Read the Refrigerator’s Installation Manual
Before you begin, make sure you read the installation manual that came with your refrigerator. The manual will provide instructions on how to properly install the water line and will also list any necessary supplies.
Step 2: Purchase a Water Supply Kit
Once you have read the manual, purchase a water supply kit from your local hardware store. Most kits come with everything you need to connect the water line, including the shut-off valve, copper tubing, and fittings.
Step 3: Turn Off the Main Water Supply
Before you begin installing the water line, you must turn off the main water supply to your home. This is an important safety measure that should not be overlooked.
Step 4: Cut the Copper Tubing
Using a hacksaw, cut the copper tubing to the length specified in the installation manual. Make sure the ends are clean and free of burrs.
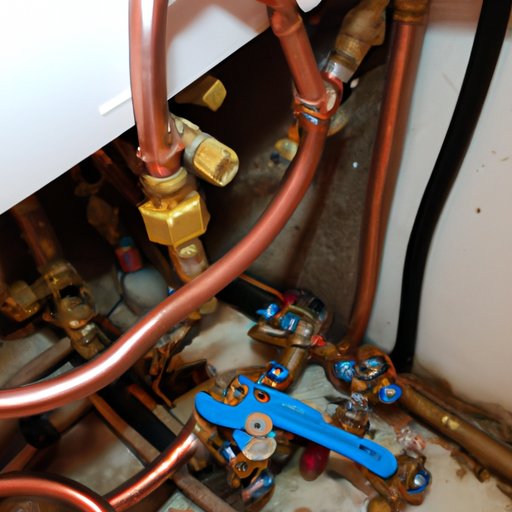
Step 5: Connect the Shut-Off Valve
Next, attach the shut-off valve to the copper tubing. Tighten the connection with two wrenches until it is secure.
Step 6: Attach the Copper Tubing
Attach the copper tubing to the refrigerator’s water supply valve. Again, make sure the connection is secure.
Step 7: Turn On the Main Water Supply and Check for Leaks
Once the water line is connected, turn on the main water supply and check for leaks. If there are any, tighten the connections until they are secure. Once you are sure there are no leaks, you can turn on the refrigerator’s water supply.
Conclusion
Connecting a refrigerator water line is not as difficult as it may seem. By following these simple steps, you can have your refrigerator connected in no time. Just remember to read the installation manual, purchase the necessary supplies, turn off the main water supply, cut the copper tubing, connect the shut-off valve, attach the copper tubing, and turn on the main water supply and check for leaks.
When connecting a refrigerator water line, it is important to take safety precautions. Make sure to turn off the main water supply before beginning and check for leaks afterwards. Also, make sure the connections are secure to prevent any water damage.
By connecting a refrigerator water line, you can enjoy the convenience of having cold water or ice cubes whenever you want them.