
Introduction
Connecting a 4 prong dryer cord can be confusing and daunting if you’re not familiar with the process. This article will provide a comprehensive step-by-step guide on how to connect a 4 prong dryer cord in an easy and safe way. Read on to learn more about connecting a 4 prong dryer cord.
Step by Step Guide to Connecting a 4 Prong Dryer Cord
The first step of connecting a 4 prong dryer cord is to gather the necessary supplies. You will need a 4 prong dryer cord, a screwdriver, wire strippers, electrical tape, and a pair of scissors. Once you have all the supplies, you can begin the process of connecting the dryer cord.
The next step is to prepare the wire. With your wire strippers, carefully remove the insulation from the ends of the wire. Make sure to leave enough of the wire exposed so that it can make a secure connection. If you find that the wire is too short, use a pair of scissors to trim the excess.
Now it’s time to secure the dryer cord. Use the screwdriver to attach the dryer cord to the back of the dryer. Make sure the cord is tightly secured and that there are no loose wires. Once the cord is secure, you can move on to making the connections.
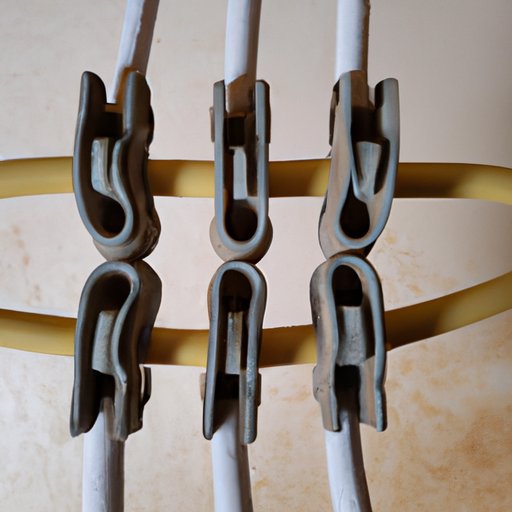
It’s important to understand the connections before making them. The four prongs on the dryer cord should correspond to the four slots on the back of the dryer. Start by connecting the black wire to the “L1” slot, then the red wire to the “L2” slot, followed by the white wire to the “N” slot, and finally the green wire to the “G” slot. Make sure each connection is tight and secure.
Once the connections are made, it’s time to test them. Plug the dryer into an outlet and turn it on. If the dryer works properly, then the connections were successful. If not, double check the connections to make sure they are secure.

How to Easily Install a 4 Prong Dryer Cord
Installing a 4 prong dryer cord can seem intimidating, but it doesn’t have to be. With a few simple steps, you can easily install a 4 prong dryer cord. First, you need to understand the basic connections. There are four prongs on the dryer cord and four slots on the back of the dryer. The black wire should be connected to the “L1” slot, the red wire to the “L2” slot, the white wire to the “N” slot, and the green wire to the “G” slot.
Once you know the connections, you can begin installing the cord. Start by attaching the dryer cord to the back of the dryer with a screwdriver. Make sure the cord is securely attached and there are no loose wires. Next, connect the black wire to the “L1” slot, then the red wire to the “L2” slot, followed by the white wire to the “N” slot, and finally the green wire to the “G” slot.
Once the connections are made, plug the dryer into an outlet and turn it on. If the dryer works properly, then the connections were successful. If not, double check the connections to make sure they are secure.

DIY: Connecting a 4 Prong Dryer Cord in 8 Simple Steps
If you’re feeling brave, you can try connecting a 4 prong dryer cord yourself. Here are 8 simple steps to help you get started:
1. Gather the necessary supplies: a 4 prong dryer cord, a screwdriver, wire strippers, electrical tape, and a pair of scissors.
2. Prepare the wire by removing the insulation from the ends of the wire with a wire stripper. Make sure to leave enough of the wire exposed so that it can make a secure connection.
3. Secure the dryer cord to the back of the dryer with a screwdriver. Make sure the cord is tightly secured and that there are no loose wires.
4. Understand the connections. The four prongs on the dryer cord should correspond to the four slots on the back of the dryer.
5. Connect the black wire to the “L1” slot, then the red wire to the “L2” slot, followed by the white wire to the “N” slot, and finally the green wire to the “G” slot.
6. Test the connections by plugging the dryer into an outlet and turning it on.
7. If the dryer works properly, then the connections were successful. If not, double check the connections to make sure they are secure.
8. Finally, use electrical tape to cover any exposed wires for safety.

What You Need to Know About Connecting a 4 Prong Dryer Cord
In addition to understanding the connections and following the steps above, there are a few other things you need to keep in mind when connecting a 4 prong dryer cord. First and foremost, safety should always be a priority. Make sure to turn off the power to the dryer before beginning any work. Also, make sure to cover any exposed wires with electrical tape.
Finally, if you’re not comfortable or familiar with the process of connecting a 4 prong dryer cord, it’s best to seek professional help. A qualified electrician will be able to ensure the job is done safely and correctly.
Conclusion
Connecting a 4 prong dryer cord can seem intimidating, but with the right preparation and knowledge, it can be done safely and easily. This article has provided a comprehensive step-by-step guide on how to connect a 4 prong dryer cord. From gathering the necessary supplies to understanding the connections and testing the connections, this article has everything you need to know. Remember to always follow safety precautions and seek professional help if needed.