
Introduction
A dirty kitchen counter is one of the most common household cleaning problems. Not only does it make your kitchen look unappealing, but it can also lead to a build-up of bacteria and germs over time. Fortunately, there are some simple steps that you can take to keep your kitchen counter looking clean and hygienic.
This article will provide a detailed guide on how to clean a kitchen counter. It will cover the necessary steps and products to use in order to effectively tackle dirt and grime buildup. Read on to learn more about the best ways to keep your kitchen counters sparkling clean.
How to Clean a Kitchen Counter
Cleaning a kitchen counter is not as difficult as it may seem. With the right supplies and a little know-how, you can have your kitchen counter looking brand new in no time. Here are the steps to follow when cleaning a kitchen counter:
Step 1: Wipe Down the Counter with a Microfiber Cloth and All-Purpose Cleaner
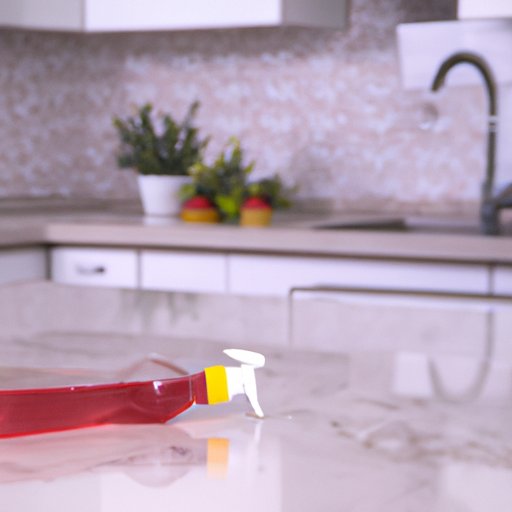
The first step to cleaning a kitchen counter is to wipe down the surface with a microfiber cloth and an all-purpose cleaner. This will help to remove any dust, food particles, and other debris from the surface. Be sure to use a gentle cleaner that won’t damage the finish of your kitchen counter.
Step 2: Scrub Off Any Stubborn Spots with a Scrub Brush and Natural Cleaner
If there are any stubborn spots on your kitchen counter, such as grease or food stains, then you’ll need to use a scrub brush and natural cleaner to get rid of them. You can use baking soda, vinegar, or lemon juice as a natural cleaner. Simply mix it with water and apply it to the affected area using a soft-bristled brush. Then, rinse off the solution with warm water.
Step 3: Disinfect the Counter with a Cleaner Made Specifically for Kitchen Surfaces
After wiping down and scrubbing the counter, it’s important to disinfect the surface to kill any lingering germs and bacteria. The best way to do this is to use a cleaner made specifically for kitchen surfaces. These cleaners are designed to be effective while still being gentle enough to use on food preparation areas.
Step 4: Rinse the Counter with Warm Water and Dry with a Clean Towel
Once you’ve finished disinfecting the counter, it’s important to rinse it off with warm water to remove any leftover residue. After rinsing, dry the counter with a clean towel to prevent water spots from forming. Make sure to dry the counter thoroughly before moving on to the next step.
Step 5: Apply a Protective Sealant or Wax to the Countertop
To protect your kitchen counter from future dirt and grime buildup, it’s important to apply a protective sealant or wax to the surface. This will create a barrier between the counter and any dirt or liquid spills, making it easier to clean up in the future. Be sure to follow the instructions on the product label carefully.
Step 6: Polish the Counter with a Soft Cloth for an Extra Shine
Finally, if you want to give your kitchen counter an extra shine, you can use a soft cloth to polish the surface. This will help to bring out the natural beauty of the countertop material and make it look like new again.
Conclusion
Cleaning a kitchen counter is a relatively simple task that can be done quickly and easily. By following the six steps outlined in this article, you can ensure that your kitchen counter is always looking its best. Regularly cleaning your kitchen counter will also help to keep it hygienic and free of bacteria and germs.