Introduction
A clogged or dirty dryer duct can have serious repercussions on the performance of your dryer and even your home. Not only is it important to maintain the cleanliness of your dryer duct, but it’s also essential to understand the basics of how to clean a dryer duct in order to ensure that you’re doing it safely and correctly. This article will provide a step-by-step guide on how to clean a dryer duct and the benefits of regular cleaning.
Prepare Your Dryer and Space
Before you begin the process of cleaning your dryer duct, it’s important to prepare both your dryer and your space. The first step is to gather the necessary supplies. You’ll need a vacuum cleaner, a soft cloth, a dryer vent brush, and a screwdriver. Once you have all your supplies ready, clear the area around your dryer so that you have enough space to work.
Unplug the Dryer and Disconnect the Duct
The next step is to unplug your dryer from the wall outlet and disconnect the duct from the back of the dryer. To unplug the dryer, simply pull the plug out of the wall outlet. To disconnect the duct, use the screwdriver to loosen the screws that are connecting the duct to the back of the dryer. Once the screws are loose, gently remove the duct and set it aside.

Remove Excess Lint from the Vent
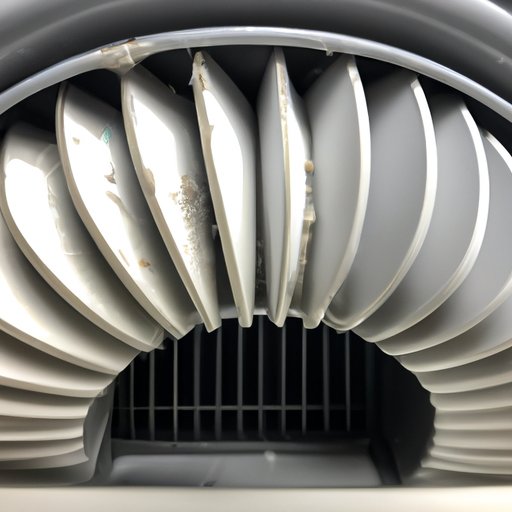
Once the duct is removed, you’ll be able to access the vent. Begin by using a vacuum to remove any excess lint that has collected inside the vent. Be sure to move the vacuum slowly and carefully so as not to damage the vent or the surrounding area. After vacuuming, use a brush to reach any areas that may have been missed.

Vacuum the Inside of the Dryer
Next, vacuum the inside of the dryer. Focus on removing any debris or buildup that may have accumulated over time. This will help to ensure that your dryer runs more efficiently and prevents any potential fires.

Clean the Exterior of the Vent
Once the interior of the dryer is clean, turn your attention to the exterior of the vent. Use a soft cloth to wipe down the surface of the vent. Be sure to remove any dust or dirt that may have built up over time.

Use a Dryer Vent Brush to Clean the Interior of the Duct
Now it’s time to use the dryer vent brush to clean the interior of the duct. Insert the brush into the duct and move it in a circular motion. This will help to dislodge any debris or buildup that may have accumulated inside the duct. Continue until the brush comes out clean.
Replace the Duct and Plug in the Dryer
Once you’ve finished cleaning the dryer duct, it’s time to reattach the duct and plug in the dryer. To reattach the duct, simply reverse the steps you took to remove it. Once the duct is secure, plug the dryer back into the wall outlet.
Conclusion
Cleaning a dryer duct is an important step in maintaining the efficiency and safety of your dryer. By following the steps outlined in this article, you can easily and safely clean a dryer duct. Regularly cleaning your dryer duct will ensure that your dryer runs more efficiently and helps to prevent potential fires.


