
Introduction
Changing your refrigerator filter is an important part of regular maintenance that can help ensure that your water tastes great and is free from contaminants. If you have a Whirlpool refrigerator, this article will provide you with a step-by-step guide to replacing your filter, as well as information about types of filters, benefits of regular filter changes, and troubleshooting tips in case you encounter any issues along the way.
Step-by-Step Guide to Replacing a Whirlpool Refrigerator Filter
Replacing a Whirlpool refrigerator filter is a simple process that can be completed in just a few steps. Before you begin, make sure you have all the necessary tools and materials on hand, including a new filter, a flathead screwdriver, and any additional parts or components required by your specific model.
Gathering Necessary Tools and Materials
The first step in the process is to gather all the necessary tools and materials. Depending on the model of your Whirlpool refrigerator, you may need a variety of tools and materials, such as a flathead screwdriver, a wrench, pliers, a pair of gloves, and a new filter. Make sure to check the manual for your specific model to determine which items you need.
Removing Old Filter
Once you have gathered the necessary tools and materials, the next step is to remove the old filter. To do this, locate the filter housing, which is usually located on the back of the refrigerator near the bottom. Use a flathead screwdriver to loosen the screws holding the cover panel in place, then carefully remove the panel. Once the panel is removed, you should be able to easily remove the old filter.
Installing New Filter
The last step is to install the new filter. Carefully slide the new filter into place and secure it with the screws provided. Be careful not to overtighten the screws, as this could cause damage to the filter. Once the filter is secured, reattach the cover panel and reset the water filter indicator light.
How to Replace a Whirlpool Refrigerator Filter: A Quick Tutorial
For those who want a quick overview of how to replace a Whirlpool refrigerator filter, here is a step-by-step guide:
Step-by-Step Instructions
- Gather all necessary tools and materials, including a new filter, a flathead screwdriver, and any additional parts or components required by your specific model.
- Locate the filter housing, which is usually located on the back of the refrigerator near the bottom.
- Use a flathead screwdriver to loosen the screws holding the cover panel in place, then carefully remove the panel.
- Remove the old filter.
- Carefully slide the new filter into place and secure it with the screws provided.
- Reattach the cover panel and reset the water filter indicator light.
- Flush the system by running water through the filter for approximately 5 minutes.
- Test the water quality to ensure that the filter is working properly.
Tips for Ensuring Proper Installation
To ensure that your new filter is installed correctly, there are a few tips to keep in mind. First, make sure to read the instructions carefully before beginning the installation process. Also, be sure to use only the recommended tools and materials for your particular model. Finally, be sure to flush the system and test the water quality after installation to ensure that the filter is working properly.

Replacing a Whirlpool Refrigerator Filter in 8 Easy Steps
Replacing a Whirlpool refrigerator filter is a straightforward process that can be completed in just eight simple steps. Here’s what you need to do:
Step 1: Gather Necessary Tools and Materials
The first step is to gather all the necessary tools and materials. Depending on the model of your Whirlpool refrigerator, you may need a variety of tools and materials, such as a flathead screwdriver, a wrench, pliers, a pair of gloves, and a new filter. Make sure to check the manual for your specific model to determine which items you need.
Step 2: Locate the Filter
Once you have gathered the necessary tools and materials, the next step is to locate the filter housing, which is usually located on the back of the refrigerator near the bottom.
Step 3: Remove the Old Filter
Use a flathead screwdriver to loosen the screws holding the cover panel in place, then carefully remove the panel. Once the panel is removed, you should be able to easily remove the old filter.
Step 4: Install the New Filter
Carefully slide the new filter into place and secure it with the screws provided. Be careful not to overtighten the screws, as this could cause damage to the filter.
Step 5: Reattach the Cover Panel
Once the filter is securely in place, reattach the cover panel and reset the water filter indicator light.
Step 6: Reset the Water Filter Indicator Light
Reset the water filter indicator light so that it reflects the current status of the filter.
Step 7: Flush the System
Once the filter is installed, flush the system by running water through the filter for approximately 5 minutes.
Step 8: Test the Water Quality
Finally, test the water quality to ensure that the filter is working properly.
Changing a Whirlpool Refrigerator Filter: What You Need to Know
When changing a Whirlpool refrigerator filter, there are a few things to keep in mind. First, it’s important to choose the right type of filter for your refrigerator. Different models require different types of filters, so make sure to consult your owner’s manual for the correct type. It’s also important to change your filter regularly. Most manufacturers recommend changing your filter every six months, but this can vary depending on the type of filter and how often you use your refrigerator.

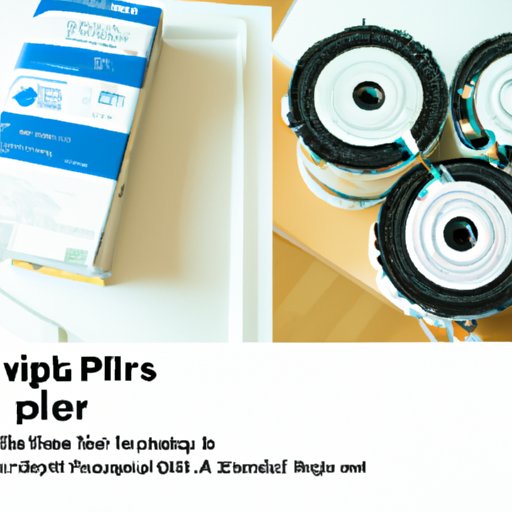
Replacing Your Whirlpool Refrigerator Filter: An Illustrated Guide
If you prefer a visual guide to replacing your Whirlpool refrigerator filter, this illustrated guide will walk you through the process step-by-step:
Step-by-Step Visual Guide
- Gather all necessary tools and materials.
- Locate the filter housing.
- Remove the old filter.
- Install the new filter.
- Reattach the cover panel.
- Reset the water filter indicator light.
- Flush the system.
- Test the water quality.

Troubleshooting Tips for Replacing a Whirlpool Refrigerator Filter
If you run into any issues while replacing your Whirlpool refrigerator filter, here are some common problems and solutions:
Common Issues and Solutions
- If the filter is difficult to remove, use a pair of pliers to gently loosen it.
- If the filter is not fitting properly, make sure that you have the correct model for your refrigerator.
- If the cover panel is not fitting properly, make sure that you have the correct screws for your model.
- If the water filter indicator light does not reset, consult your owner’s manual for instructions.
Conclusion
Replacing a Whirlpool refrigerator filter is a simple process that can be completed in just a few steps. By following the steps outlined in this article, you can ensure that your filter is replaced correctly, and that your water tastes great and is free from contaminants. If you have any questions or run into any issues along the way, the troubleshooting tips provided can help you resolve the issue quickly and easily.