
Introduction
Ceiling fans are an efficient and cost-effective way to keep your home cool during the summer months. They also provide a gentle breeze that can help circulate air throughout a room. If you’re considering changing or upgrading your ceiling fan, it’s important to understand the basics of installation and safety precautions.
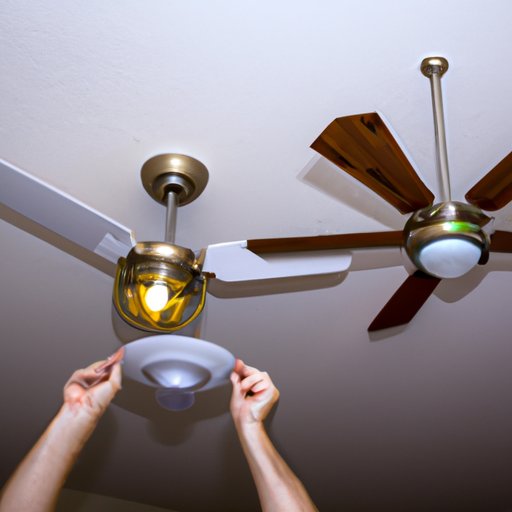
A ceiling fan is a mechanical device that consists of a fan motor, blades, and a mounting system. The motor is usually connected to a power source, such as a wall switch or remote control. The blades are mounted on the motor shaft and rotate when the motor is turned on. The mounting system is used to attach the fan to the ceiling.
There are many benefits to changing or upgrading your ceiling fan. Newer models are more energy efficient and can save you money on your electricity bill. They also come in a variety of styles and colors, so you can find one that fits your décor. Finally, upgrading your fan can give your room a much-needed facelift.
Step-by-Step Guide: How to Install a Ceiling Fan
Installing a new ceiling fan is a relatively simple task, but it does require some planning and preparation. Here is a step-by-step guide for how to install a ceiling fan:
1. Choose the Right Ceiling Fan
The first step is to choose the right ceiling fan for your space. Consider the size of the room, the height of the ceiling, and the type of lighting you want. Make sure to select a fan with enough power to move air around the room. You should also consider the noise level of the fan and its energy efficiency rating.
2. Prepare the Room
Before you begin installing the fan, make sure the room is ready. Turn off the power to the room and remove any furniture or other items that may be in the way. Make sure there is adequate clearance between the fan blades and the walls or ceiling.
3. Install the Mounting Bracket
The next step is to install the mounting bracket. This is typically done by attaching the bracket to the ceiling joists using lag screws. Make sure the bracket is level and secure before proceeding.
4. Connect the Wiring
Once the mounting bracket is in place, it’s time to connect the wiring. Depending on the type of fan you have, this might involve connecting the wires from the fan motor to the house wiring. It’s important to follow the manufacturer’s instructions for this step.
5. Hang the Fan and Attach the Blades
Now it’s time to hang the fan. Place the fan motor onto the mounting bracket and secure it with the provided hardware. Next, attach the blades to the fan motor. Make sure the blades are securely attached and balanced before turning on the power.
6. Turn on the Power and Test the Fan
Once the fan is installed, turn on the power and test the fan. Make sure the fan is spinning properly and that all the blades are moving evenly. If everything looks good, you’re ready to enjoy your new ceiling fan!

DIY Project: How to Replace an Old Ceiling Fan
If you’re looking to replace an old ceiling fan, the process is relatively similar to installing a new fan. Here’s a quick guide to replacing an old fan:
1. Remove the Old Fan
Start by turning off the power and removing the old fan. Carefully take down the fan and set aside all the pieces, including the blades and mounting hardware. Be sure to label each piece so you know where it goes when you install the new fan.
2. Install the New Fan
Once the old fan is out of the way, it’s time to install the new fan. Follow the steps outlined above for installing a new fan, making sure to use the same mounting hardware as the old fan. Be sure to check that the fan is level and secure before continuing.
3. Replace the Wiring
Next, you’ll need to replace the wiring. Depending on your fan, this could involve replacing the existing wiring or adding new wiring. Again, follow the manufacturer’s instructions for this step.
4. Final Testing
Finally, turn on the power and test the fan. Make sure all the blades are spinning properly and that the fan is operating at the correct speed. If everything looks good, you’re ready to enjoy your new fan!
Tips for Upgrading Your Ceiling Fan
Upgrading your ceiling fan can be an easy and affordable way to update the look of your home. Here are some tips to consider when selecting a new fan:
1. Selecting a New Fan
When selecting a new fan, consider the size of the room, the height of the ceiling, and the type of lighting you want. Look for a fan with enough power to move air around the room and a noise level that won’t disturb you. You should also consider the fan’s energy efficiency rating.
2. Considerations for Different Rooms
Different rooms have different needs when it comes to ceiling fans. For example, a bedroom may require a quieter fan with a low-light setting, while a kitchen may need a fan with more power and a brighter light. Consider these factors when selecting a new fan.
3. Energy Efficiency and Cost Savings
Newer models of ceiling fans are more energy efficient than older models. Look for a fan with an Energy Star rating to ensure you’re getting the most efficient fan possible. This can help you save money on your electricity bill in the long run.

Troubleshooting Common Problems with Ceiling Fans
Ceiling fans are generally reliable, but they do sometimes experience problems. Here are some of the most common issues and how to troubleshoot them:
1. Noisy Fans
If your fan is making a lot of noise, it could be due to loose parts or worn bearings. Check for any loose parts and tighten them if necessary. If the noise persists, you may need to replace the fan motor or bearings.
2. Improper Installation
If your fan isn’t spinning properly or is wobbling, it could be due to improper installation. Make sure the mounting bracket is level and secure and that the fan blades are properly attached. If the fan still isn’t working properly, you may need to reinstall it.
3. Poor Performance
If your fan isn’t performing as well as it should, check the fan blades for dust or debris. Clean the blades with a soft cloth and vacuum any dust from the motor. If the fan still isn’t performing as expected, it may be time to replace it.

Safety Precautions when Working with Ceiling Fans
It’s important to take safety precautions when working with ceiling fans. Here are some tips to keep in mind:
1. Electrical Safety
Always turn off the power before working on the fan. Unplug the fan or switch off the circuit breaker to the room before beginning any work. Wear rubber gloves and use caution when handling electrical components.
2. Ladder Safety
If you’re using a ladder to reach the fan, make sure it is stable and secure. Never stand on the top two steps of a ladder and always wear shoes with non-slip soles.
3. Blade Safety
When cleaning or working on the blades, make sure to wear protective gear such as goggles and gloves. Keep your fingers away from the blades while they are spinning.
Conclusion
Changing or upgrading your ceiling fan is a great way to improve the look and feel of your home. With a little planning and preparation, it’s a relatively simple DIY project. Just remember to follow the manufacturer’s instructions and safety precautions when working with ceiling fans.
This guide has provided an overview of how to change a ceiling fan, from choosing the right fan to troubleshooting common problems.