
Introduction
Taking a screenshot on your laptop is a great way to save and share information quickly. Whether you’re trying to capture an image of an error message or sending a screenshot of a webpage to a friend, there are many occasions when you may need to take a screenshot. But if you’ve never done it before, the process can seem a bit daunting. Fortunately, taking a screenshot on your laptop is actually quite simple. In this article, we’ll provide a step-by-step guide to taking a screenshot on your laptop, as well as exploring the different ways to do so, and offering tips and tricks for taking high-quality screenshots.
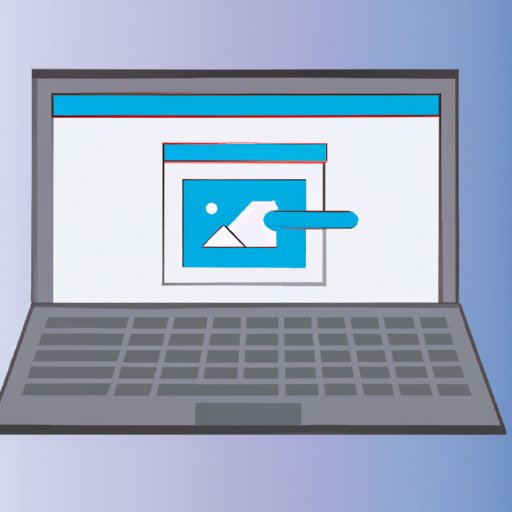
Step-by-Step Guide to Taking a Screenshot on Your Laptop
Taking a screenshot on your laptop is easy once you know the basics. There are a few different ways to capture a screen shot, and we’ll cover each one in more detail below. But first, let’s look at the basic steps for taking a screenshot.
The first step is to open up the window or application that you want to capture. Then, when you’re ready to take the screenshot, press the “Print Screen” key (sometimes labeled “PrtScn”) on your keyboard. This will capture the entire screen and store it in your clipboard. Finally, open up an image editing program like Paint or Photoshop, and paste the screenshot into the program. You can then edit and save the screenshot as needed.
Exploring the Different Ways to Take a Screenshot on Your Laptop
Now that you know the basic steps for taking a screenshot on your laptop, let’s look at some of the different methods for doing so. Depending on what you’re trying to capture, one method may work better than another.
How to Use the Print Screen Key
The simplest and most common way to take a screenshot on your laptop is to use the “Print Screen” key. As mentioned above, pressing this key will capture the entire screen and store it in your clipboard. From there, you can paste the screenshot into an image editing program and edit and save it as needed.
How to Use the Snipping Tool
If you only want to capture part of the screen, you can use the Snipping Tool. This is a Windows utility that allows you to select a specific area of the screen to capture. To use the Snipping Tool, simply open the tool and click and drag to select the area of the screen that you want to capture. Once you’ve selected the area, you can save the screenshot as an image file.
How to Use Shortcut Keys
You can also use shortcut keys to take a screenshot on your laptop. For example, if you want to capture the active window, you can press Alt + PrtScn. This will capture the active window and store it in your clipboard. Again, you can then paste the screenshot into an image editing program and edit and save it as needed.

The Easiest Way to Take a Screenshot on Your Laptop
The easiest way to take a screenshot on your laptop is to use the “Print Screen” key. This key captures the entire screen and stores it in your clipboard, allowing you to quickly and easily paste the screenshot into an image editing program and save it as an image file.
To take a screenshot using the “Print Screen” key, simply open the window or application that you want to capture. When you’re ready, press the “Print Screen” key on your keyboard. This will capture the entire screen and store it in your clipboard. Next, open up an image editing program like Paint or Photoshop, and paste the screenshot into the program. Finally, edit and save the screenshot as needed.
Tips and Tricks for Taking a High-Quality Screenshot on Your Laptop
Once you’ve mastered the basics of taking a screenshot on your laptop, you can start exploring ways to take higher-quality screenshots. Here are a few tips and tricks that can help you get the most out of your screenshots.
Adjusting Display Settings
One way to improve the quality of your screenshots is to adjust your laptop’s display settings. For example, you can increase the resolution or change the color depth to make your screenshots look sharper and clearer. It’s also a good idea to turn off any special effects or animations that may be running on your laptop, as these can interfere with the quality of your screenshots.
Using a Third-Party Tool
There are also a number of third-party tools that can help you take higher-quality screenshots. These tools offer features such as image editing, annotation, and sharing capabilities, making it easier to create professional-looking screenshots.
Choosing the Right File Format
Finally, it’s important to choose the right file format for your screenshots. The most popular formats are JPEG, PNG, and GIF. Each format has its own benefits and drawbacks, so it’s a good idea to experiment with each one to see which works best for your needs.
Conclusion
Taking a screenshot on your laptop is a great way to save and share information quickly. In this article, we provided a step-by-step guide to taking a screenshot on your laptop, explored the different ways to do so, and offered tips and tricks for taking high-quality screenshots. With the information in this article, you should now have all the tools you need to capture high-quality screenshots on your laptop.