
Introduction
A bike inner tube is an essential part of any bicycle. It is a rubber tube that fits inside the tire of a bike and is responsible for keeping the air in the tire at a consistent pressure. When the inner tube becomes punctured or otherwise damaged, it is important to replace it as soon as possible. In this article, we will provide a step-by-step guide on how to replace a bike inner tube.
Gather the Necessary Tools
Before you begin, you’ll need to make sure you have all the necessary tools on hand. These include a patch kit, a pump, and a tire lever. You can find these items online or at your local bike shop. Make sure you have the correct size of inner tube for your bike before starting the replacement process.
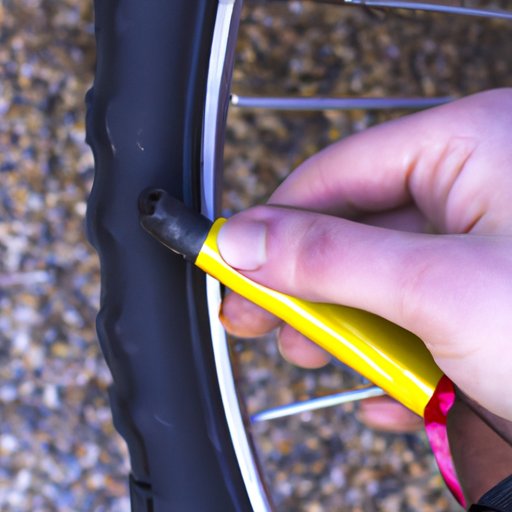
Remove the Tire and Inner Tube
Once you have all the necessary tools, you can begin removing the tire and inner tube from the wheel. Start by using the tire lever to gently pry the tire away from the rim. Once the tire is loose, remove the inner tube. To avoid damaging the tire, be sure to pull the tube out slowly and carefully.
Once the inner tube has been removed, you should inspect it for any holes or punctures. If you find any, discard the old tube and use a new one.
Inspect the Wheel and Tire for Damage
Before installing the new inner tube, it is important to inspect the wheel and tire for any signs of damage. Look for any cracks, bulges, or other irregularities in the tire or rim. If you find any, it is best to replace the tire or rim before continuing.
Find the Leak in the Inner Tube
If the tire and rim are in good condition, the next step is to find the leak in the inner tube. There are a few different methods for doing this. One method is to submerge the inner tube in a bucket of water and look for bubbles. Another method is to inflate the tube slightly and listen for any hissing sounds. Finally, you can also inspect the tube for any visible holes or punctures.

Inflate the New Inner Tube
Once you have identified the leak in the inner tube, it is time to inflate the new one. Begin by attaching the pump to the valve stem of the inner tube. Make sure the pump is firmly attached before pumping air into the tube. Be careful not to overinflate the tube, as this can cause it to burst.
It is also important to check for any leaks in the new tube before continuing. To do this, simply submerge the tube in a bucket of water and look for any bubbles. If you find any, you can use the patch kit to repair the leak.

Reinstall the Tire and Inner Tube
Now that the new inner tube is properly inflated, you can begin reinstalling the tire and inner tube. Start by placing the inner tube inside the tire. Make sure to position the valve stem so it is pointing up towards the rim. Then, begin to work the tire back onto the rim.
When doing this, it is important to be careful not to pinch the inner tube between the tire and the rim. This can cause the tube to burst, resulting in a flat tire. Once the tire is fully seated on the rim, use the tire lever to secure it in place.

Check for Proper Inflation and Alignment
The final step is to make sure everything is properly aligned and inflated. Start by checking the tire for any signs of misalignment. The tire should sit evenly on the rim and the valve stem should be centered. Once everything is properly aligned, you can use the pump to inflate the tire to the recommended pressure.
It is also a good idea to double-check for any leaks in the inner tube. Submerge the tube in a bucket of water and look for any bubbles. If you find any, you can use the patch kit to repair the leak.
Conclusion
Replacing a bike inner tube is a relatively simple process that can be done with a few basic tools. This guide provided step-by-step instructions on how to replace a bike inner tube, including gathering the necessary tools, removing the tire and inner tube, inspecting for damage, finding the leak, inflating the new inner tube, reinstalling the tire and inner tube, and checking for proper inflation and alignment.