Introduction
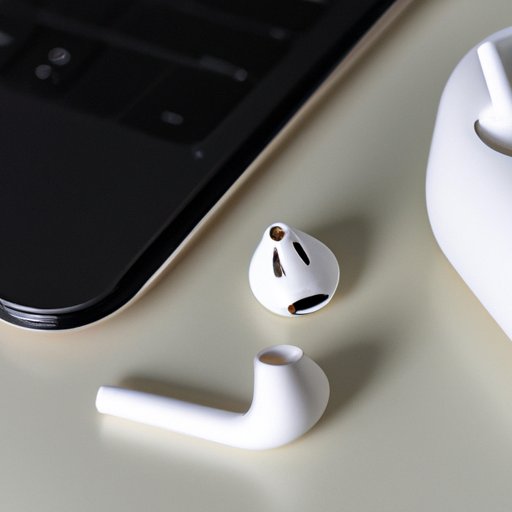
AirPods are Apple’s popular wireless headphones that allow users to listen to music, podcasts, and other audio sources without the hassle of cords. The convenience of AirPods makes them a great choice for listening to audio on the go, but did you know that you can also connect them to computers? Connecting your AirPods to a computer can be beneficial if you want to use them to take calls, watch videos, or play games.
Connecting AirPods to a Mac
If you have a Mac computer, connecting your AirPods is easy. Here are the steps you need to follow:
1. Make sure that your AirPods are charged and that your Mac is updated to the latest version of macOS.
2. Turn on Bluetooth on your Mac. You can do this by clicking on the Bluetooth icon in the top right corner of your screen, or by going to System Preferences > Bluetooth.
3. Put your AirPods in their charging case and open the lid. This will activate the pairing process.
4. Your AirPods should appear in the list of Bluetooth devices on your Mac. Click “Connect” next to them to start the pairing process.
5. Once the pairing is complete, you can use the AirPods utility app to manage settings and customize sound. This app can be found in the Applications folder on your Mac.
6. You can check the battery life of your AirPods when they are connected to your Mac by clicking on the Bluetooth icon in the top right corner of your screen.

Connecting AirPods to a Windows Computer
Connecting your AirPods to a Windows computer is a similar process. Here are the steps you need to follow:
1. Make sure that your AirPods are charged and that your Windows computer is updated to the latest version.
2. Turn on Bluetooth on your computer. You can do this by going to Settings > Devices > Bluetooth & Other Devices.
3. Put your AirPods in their charging case and open the lid. This will activate the pairing process.
4. Your AirPods should appear in the list of Bluetooth devices on your computer. Click “Connect” next to them to start the pairing process.
5. Once the pairing is complete, you should be able to use your AirPods with your Windows computer.
6. You can check the battery life of your AirPods when they are connected to your computer by going to Settings > Devices > Bluetooth & Other Devices.
Troubleshooting Connection Issues
There are some common issues that can arise when connecting AirPods to a computer. If you experience any of these issues, try the following troubleshooting tips:
• Make sure that your AirPods are fully charged before attempting to pair them with your computer.
• Make sure that your computer’s Bluetooth is turned on and that it is within range of your AirPods.
• Make sure that your AirPods are in their charging case and that the lid is open.
• Try restarting your computer and then attempting to pair your AirPods again.
• If you are using a Mac, try using the AirPods utility app to manage settings and customize sound.
Conclusion
Connecting your AirPods to a computer can be an easy and convenient way to enjoy audio from your computer. By following the steps outlined in this article, you can easily pair your AirPods with a Mac or Windows computer. Additionally, if you experience any connection issues, there are some simple troubleshooting tips you can try. So don’t be afraid to give it a try – you might just find that connecting your AirPods to your computer is the perfect solution for your audio needs.


