
Introduction
When it comes to doing laundry, the washer is an essential appliance. But when the agitator in your washer stops working properly, it can be a real headache. Whether it’s jammed, worn out, or just plain broken, fixing a washer agitator can be tricky. In this article, we’ll explore the most common washer agitator problems, as well as provide a step-by-step guide to repairing and replacing your washer agitator.
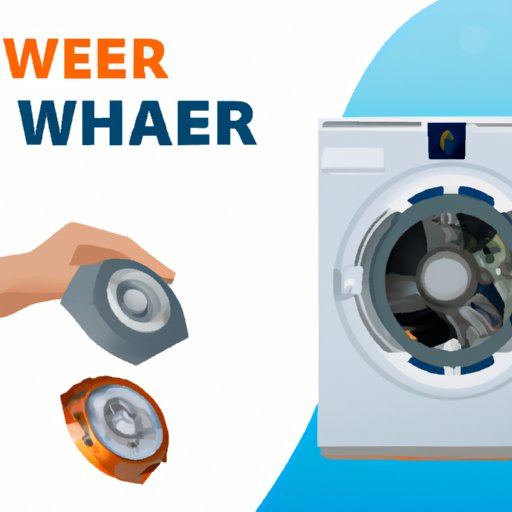
Overview of Washer Agitator Problems
The agitator is the part of the washer that moves back and forth to spin the clothes around in the water. If the agitator isn’t moving properly, it can cause a variety of problems, including leaving your clothes still wet after a cycle, not spinning correctly, and making loud noises. Some of the most common issues with washer agitators include:
- Jammed agitator
- Worn out agitator
- Broken agitator
- Misaligned agitator
Fortunately, there are some simple steps you can take to diagnose and repair your washer agitator. Let’s take a look at how to troubleshoot the issue.

Troubleshooting Common Washer Agitator Problems
If your washer’s agitator isn’t functioning properly, the first step is to identify the problem. Is the agitator jammed? Worn out? Broken? Misaligned? Once you’ve identified the issue, it’s time to start troubleshooting. Here are a few tips for diagnosing the issue:
- Check the belt. Make sure the belt connecting the motor to the agitator is properly aligned and tight. If it’s loose or misaligned, it could be causing the agitator to malfunction.
- Inspect the agitator. Look for any signs of damage, such as worn out parts or broken pieces. This can indicate that the agitator needs to be replaced.
- Check for debris. Remove the agitator and check for any debris that may be blocking its movement. If you find any debris, remove it and try running the washer again.
If you’re unable to diagnose or repair the issue yourself, it’s best to seek professional help. A qualified technician will be able to inspect the washer and determine the best course of action.
DIY Guide to Fixing a Worn Out or Jammed Agitator
If you’re confident enough to attempt a repair on your own, here’s how to fix a worn out or jammed washer agitator:
Gathering the Necessary Tools and Materials
Before you start, make sure you have all the necessary tools and materials on hand. You’ll need a screwdriver, pliers, a socket wrench set, and a replacement agitator. You may also need additional tools, depending on the type of agitator you have.
Step-by-Step Instructions
- Unplug the washer from the wall outlet and shut off the water supply.
- Remove the screws from the top panel of the washer. There should be two screws on each side.
- Lift up the top panel and locate the agitator. It should be in the center of the washer.
- Disconnect the wires connecting the agitator to the motor. Make sure to keep track of which wire goes where.
- Remove the agitator by unscrewing the mounting bolts and pulling it out.
- Inspect the agitator for any signs of wear or damage. If necessary, replace any damaged parts.
- Reassemble the agitator and reinstall it into the washer.
- Reconnect the wires to the motor and reattach the top panel.
- Plug the washer back into the wall outlet and turn on the water supply.
- Run a test cycle to make sure the agitator is working properly.

How to Replace a Washer Agitator
If your agitator is beyond repair, you may need to replace it. Here’s how to do it:
Choosing the Right Replacement Part
When choosing a replacement agitator, make sure to get one that fits your model of washer. You can usually find the correct part number printed on the back of the agitator or in the owner’s manual.
Installing the New Agitator
Once you’ve chosen the right replacement part, follow the same steps outlined above for disassembling and reassembling the agitator. Make sure to double-check that all the connections are secure before running a test cycle.
Testing the Washer
Once you’ve installed the new agitator, run a few test cycles to make sure everything is working properly. If the washer runs without any issues, you’ve successfully replaced the agitator.

Quick Tips for Repairing a Washer Agitator
Here are a few quick tips to keep in mind when repairing a washer agitator:
- Always wear protective gear, such as gloves and safety glasses, when working with electrical appliances.
- Be careful when handling parts, as they can be sharp and difficult to maneuver.
- Take time to clean out the washer before attempting any repairs. This will help prevent any further problems.
Expert Advice on How to Fix a Washer Agitator
If you’re still having trouble fixing your washer agitator, it’s best to seek professional help. Here are a few tips for getting the expert advice you need:
- Know when to seek professional help. If you’re unable to diagnose the issue or don’t feel comfortable attempting a repair, it’s best to call a qualified technician.
- Utilize online resources. There are plenty of websites and forums dedicated to washer repair. Take advantage of these resources to ask questions and get advice from experienced technicians.
- Take precautions during repairs. Always make sure to unplug the washer from the wall outlet and shut off the water supply before attempting any repairs.
Conclusion
Fixing a washer agitator can be tricky, but it’s not impossible. With a little bit of knowledge and the right tools, you can diagnose and repair your washer agitator like a pro. It’s also important to know when to seek professional help and take proper safety precautions when doing any repairs. With the tips and advice provided in this article, you’ll be able to keep your washer running smoothly for years to come.