Introduction
Replacing ceiling tiles is an important part of maintaining the overall integrity of your home. Whether you’ve discovered water damage, or simply want to update the look of your ceiling, replacing ceiling tiles is a relatively easy home repair project. In this article, we will provide a step-by-step guide on how to replace ceiling tiles, from gathering necessary materials to touching up paint or stain as needed.
Gather Necessary Materials
Before you start replacing ceiling tiles, it’s important to gather all of the necessary materials. You’ll need to buy replacement ceiling tiles, which can be found at most hardware stores or home improvement centers. Additionally, you’ll need a utility knife, hammer or staple gun, nails or staples, caulk, and sealing tape.
Prepare the Ceiling Area
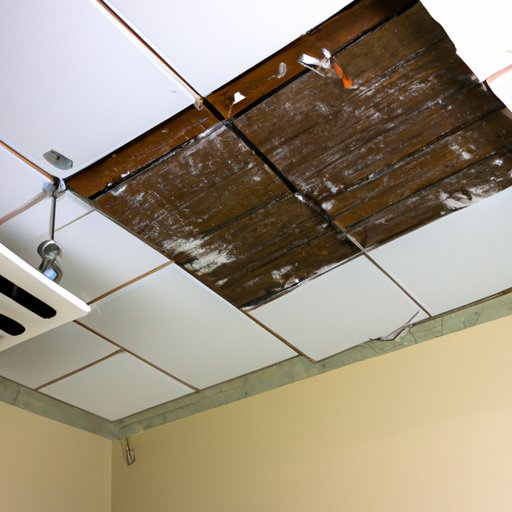
Once you have all of the necessary materials, you’re ready to begin replacing the ceiling tiles. The first step is to prepare the ceiling area. Start by removing the old ceiling tiles using a flathead screwdriver. Be sure to inspect the ceiling for any signs of water damage such as discoloration or mold. If you find any signs of damage, you may need to repair the area before proceeding.

Cut the New Ceiling Tiles to Fit
Next, you’ll need to cut the new ceiling tiles to fit. Measure and mark the new tile to ensure that it fits properly in the space. Then, use a utility knife to carefully cut the tile. Make sure to wear protective gloves when handling the sharp edges of the tile.
Install the Replacement Ceiling Tiles
Once the tile is cut, you’re ready to install the replacement ceiling tiles. Begin by positioning the new tile in place. Use a level to make sure the tile is even. Then, secure the tile with adhesive. Make sure to apply pressure to ensure a tight bond.

Secure the Ceiling Tiles in Place
Now that the tile is in place, you’ll need to secure the ceiling tiles in place. Use either nails or staples to secure the tiles. If you’re using nails, use a hammer to drive the nails into the drywall. If you’re using staples, use a staple gun to fasten the tiles.
Apply Caulk and Sealing Tape
The next step is to apply caulk and sealing tape around the edges of the tiles. This will create a waterproof seal to protect against moisture and leaks. Apply a thin layer of caulk around the edges of the tiles and then press the sealing tape over the caulk.

Touch Up Paint or Stain as Needed
Finally, you’ll need to touch up paint or stain as needed. If you’ve used nails or staples to secure the tiles, you may need to paint over any visible nail holes. Additionally, you may need to stain the tiles to match the existing color. Once you’ve finished these steps, you’re done!
Conclusion
Replacing ceiling tiles is a relatively easy home repair project. This article provided a step-by-step guide on how to replace ceiling tiles, including gathering necessary materials, preparing the ceiling area, cutting the new tile, installing the replacement tiles, securing the tiles in place, applying caulk and sealing tape, and touching up paint or stain as needed. To maintain your ceiling tiles, be sure to regularly inspect them for damage and seal any cracks or gaps with caulk.


